Studies show it takes just 100 milliseconds to form a first impression from a photo. One tenth of a second. In that blink, a viewer decides whether you look trustworthy, competent, and approachable, and lighting is the single biggest factor that separates a polished headshot from an amateur snapshot.
You've seen the studio-quality portraits on LinkedIn and actor portfolios, and probably assumed they needed thousands of dollars in gear, a rented studio and a photographer barking "turn your chin left." The technique behind nearly all of them was codified in Hollywood in the 1930s. It's called three-point lighting, and a desk lamp, a dollar-store foam board and a sunny window will get you most of it.
What follows is how to set up key, fill and back lights for flattering headshots at home, the mistakes that ruin them, how to fix bad skin tones, and when to skip DIY altogether.
What is three-point lighting (and why does it matter for headshots)?
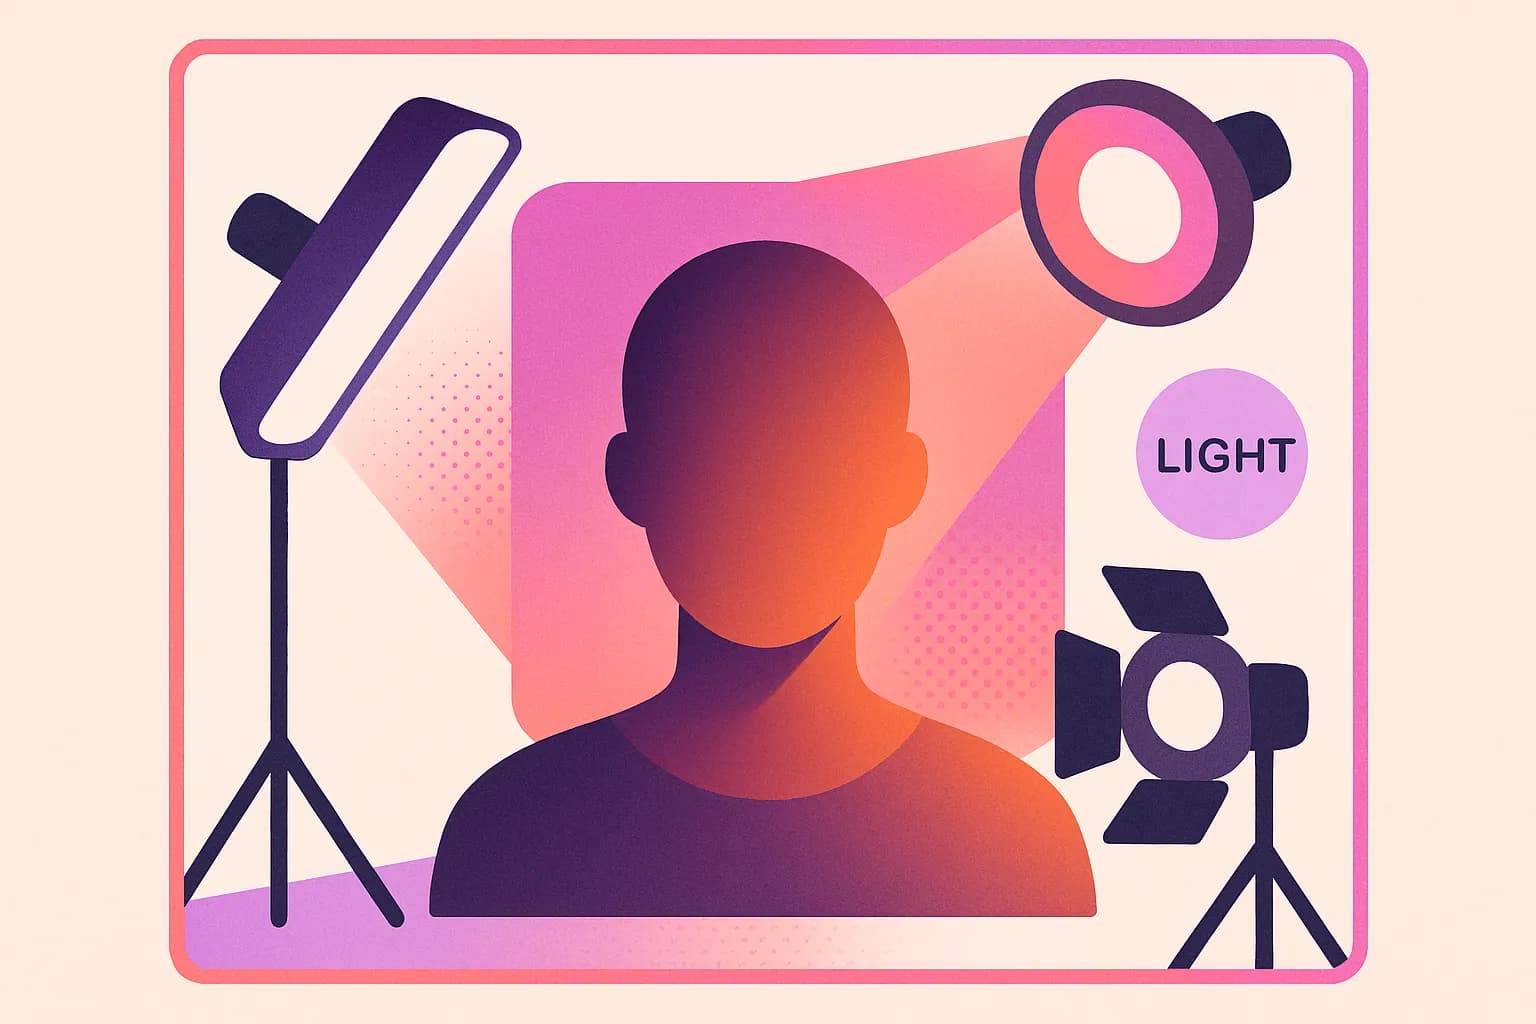
Three-point lighting is exactly what it sounds like: three separate light sources, each with a specific job, arranged around your subject.
The key light is your primary and brightest source. It sets the overall exposure and casts the main shadows that define your subject's features.
The fill light is softer and less intense, positioned opposite the key. Its job isn't to erase shadows but to lower contrast so the dark side of the face still shows detail.
The back light, also called a rim or hair light, sits behind and above the subject and creates a subtle glow around the head and shoulders that separates the person from the background.

The interplay of these three sources creates depth and dimension that a single light source simply cannot achieve. That's why this setup has been the gold standard for portraits since the golden age of cinema. It sculpts the face in three dimensions, flatters bone structure, and draws the viewer's eye exactly where you want it.
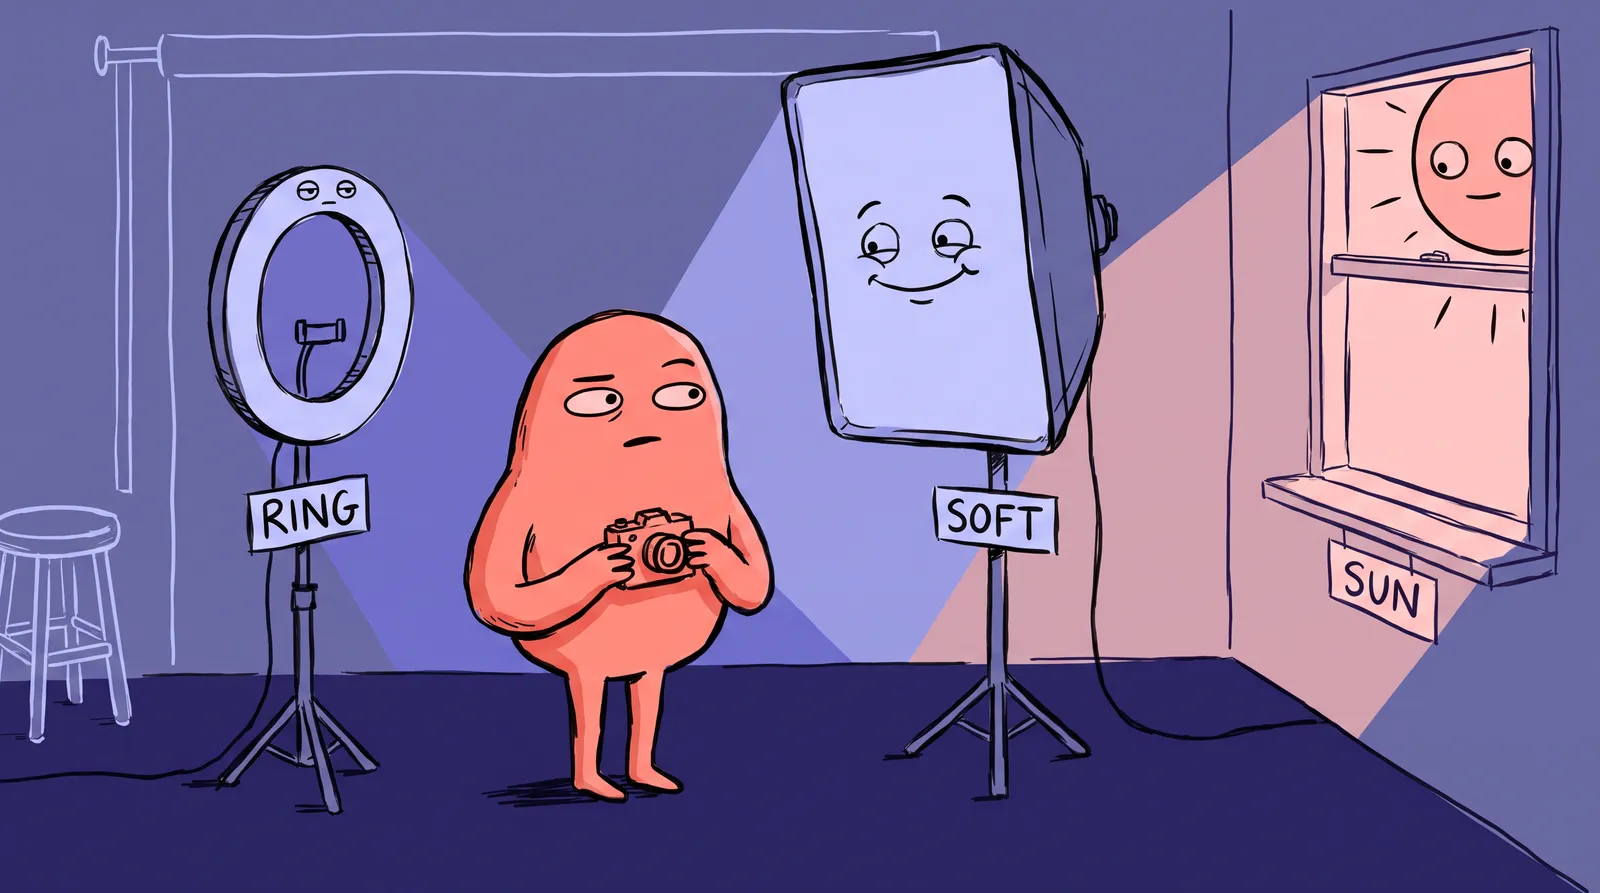
One distinction matters throughout. Hard light, from a bare bulb or direct sun, creates sharp dramatic shadows. Soft light, from an overcast sky or a diffused lamp, wraps around the face with gradual shadow transitions. For headshots, soft light is almost always the better choice: it's more forgiving on skin texture and flatters a wider range of faces.
And this isn't just about aesthetics. Research from Princeton (Willis & Todorov) and York University has shown that well-lit headshots are perceived as more trustworthy, competent, and approachable. Lighting your face properly is a career-relevant skill, whether you're updating your LinkedIn or building an acting portfolio.
Setting up your key light: The foundation of every great portrait
The key light does the most work. Get this right, and you're already 70% of the way to a professional-looking portrait.
Position it 30 to 45 degrees to one side and slightly above eye level. That angle creates the classic Rembrandt lighting pattern: a small triangle of light on the cheek opposite the light source. That triangle should be no wider than the eye and no longer than the nose. It's subtle, but it immediately adds dimension and a sense of depth to the face.
Two DIY options work well. A bright 5000K LED desk lamp with a white bedsheet or shower curtain taped in front as a diffuser scatters the light and turns a harsh point source into something close to a softbox. Or use a large window with sheer curtains, which is nature's softbox: position your subject one to two feet from the glass and rotate them about 45 degrees toward the light for a Rembrandt or loop pattern.
The inverse square law sounds intimidating and the practical takeaway is simple. Moving the light closer makes it relatively larger and softer, with more gradual shadow transitions. Moving it farther makes it smaller and harder, with sharper shadows. For headshots, closer usually wins.
The mistake people make here is placing the key light directly in front of and level with the face, which flattens every feature into the passport-photo look. Always offset the angle.
One more thing: have the subject turn their nose slightly toward the key light. That gets catchlights into both eyes, the small reflections that make eyes look alive, and prevents harsh split lighting where half the face falls into total shadow.
Adding fill light: Taming shadows without killing dimension
The fill light is your shadow manager. Without it, the side of the face opposite the key light can fall into deep, unflattering darkness. With too much fill, you lose all that dimensional sculpting you just created.
The cheapest fill light available is a white foam board, $1 to $3 at any dollar or craft store. Position it opposite the key light, angled to bounce light back into the shadow side of the face. It produces soft, neutral light that won't introduce any color shift.
Fill ratios in plain terms: at 2:1, one stop between the lit and shadow sides, you get something natural and balanced, which is the sweet spot for most headshots. At 4:1, two stops, you get something moodier with noticeable shadows, good for actors and creative portraits. At 1:1, with equal brightness on both sides, everything goes flat and shadowless, which is rarely what a headshot wants.
You can eyeball this without a light meter. Just look at the shadow side of the face. Can you see detail and skin texture? Good, that's roughly 2:1. Are the shadows deep and contrasty but not black? That's closer to 4:1.
The mistake here is a fill light at a different color temperature than the key. A warm tungsten desk lamp on one side and cool window light on the other gives you mixed-color shadows and skin tones that go sickly, almost greenish. Match your sources.
If you don't have a reflector, a white wall in a small room does the job by itself. Shooting in a bathroom or small office is surprisingly effective because the walls bounce light from every direction.
The back light: The secret weapon most beginners skip
This is where beginners usually stop. They set up a key and fill, take the shot, and wonder why it still looks a bit flat. The missing ingredient is almost always the back light.
Without rim light, the subject's hair and shoulders blend into the background, especially if both are dark. The image looks muddy and two-dimensional. A back light fixes this instantly by creating a thin line of brightness along the subject's outline.
Place it behind and above the subject, roughly three feet above their head and angled down at about 45 degrees. It should create a subtle rim on the hair and shoulders without spilling onto the face.
For DIY, grab a clamp light from the hardware store ($10 to $15 with an LED bulb). Mount it on a tall shelf, clamp it to a door frame, or even tape it to the back of a chair positioned behind your subject. In a real pinch, a phone flashlight propped at the right angle can work.
The mistake is making the back light too bright relative to the key, which gives you an overexposed halo or, worse, lens flare. Keep the rim subtle by setting the back light equal to or slightly below the key. For blonde hair, go two to three stops under to avoid blowing out highlights. For dark hair, stay closer to one stop under.

The difference is striking. That thin edge of light along the shoulders and hair is what makes a headshot look polished and three-dimensional.
Putting it all together: A step-by-step DIY headshot setup for under $20
Here's your complete equipment list with approximate 2026 prices:
| Item | Function | Est. Price |
|---|---|---|
| LED desk lamp (5000K) | Key light | $0 (you own one) |
| White foam board (20x30") | Fill reflector | $2 |
| Clamp light with LED bulb | Back light | $10 |
| White bedsheet or shower curtain | Diffusion | $0 to $5 |
| Chair + plain wall | Background + seating | $0 |
| Total | ~$12 to $17 |
The walkthrough:
- Seat the subject 3 to 4 feet from a plain wall. This leaves room for the back light and prevents hard shadows from appearing on the wall behind them.
- Position the key light (desk lamp with diffusion material in front) 45 degrees to one side and slightly above eye level.
- Place the white foam board reflector on the opposite side, angling it to bounce light into the shadows on the face.
- Clamp the back light to a high surface behind and above the subject, aimed at the back of their head and shoulders.
- Turn off all overhead room lights and block any windows you aren't using as your key.
- Take test shots and adjust. Move the fill board closer or farther to control the shadow depth. Raise or lower the key to adjust the nose shadow.
For camera settings, smartphone portrait mode works fine here because the lighting is doing the heavy work. On a dedicated camera, shoot at f/2.8 to f/5.6 and ISO 100 to 400, then adjust shutter speed until the exposure looks right.
When something goes wrong, the cause is usually one of five things. Orange skin means a color temperature mismatch, so check that all your bulbs share a Kelvin rating. Dark eye sockets mean the key light is too high; lower it toward eye level. Double shadows mean two competing key-strength lights, so dim the fill or move it back. A flat-looking face means the fill is too strong; pull the reflector back to restore contrast. And a background that's too bright or too dark just means moving the subject relative to the wall.
Common lighting mistakes that ruin skin tones (and how to fix them)
Even with the right three-point setup, a few errors will wreck the result.
Mixed color temperatures are the most frequent culprit. The Kelvin scale runs from warm (2700K, the orange glow of old incandescent bulbs) through neutral daylight (4000K to 5000K) to cool blue (6500K+). When your key light is daylight-balanced and your fill is a warm tungsten lamp, the shadows take on a sickly green or magenta cast that's extremely difficult to fix in post-processing. Solution: match all your bulbs. Daylight-balanced LEDs (5000K) are cheap and widely available in 2026.
Raccoon eyes come from overhead-only lighting. Standard ceiling fixtures and midday sun cast deep shadows in the eye sockets and under the nose and chin. Always turn off overhead room lights when shooting portraits. Your three-point setup should be the only source of illumination.
On-camera flash is another portrait killer. Direct flash from the camera position flattens the face, causes red-eye, and produces harsh specular highlights on oily skin. If you must use flash, bounce it off a ceiling or white wall. Better yet, stick with continuous lights so you can see exactly what the camera will capture.
Uncontrolled ambient light competes with your setup and muddy the results. If your room has strong light coming from multiple windows, it can overpower your carefully placed key light. Shoot at night for maximum control, or block any windows you're not deliberately using.

When DIY isn't enough: Professional-quality headshots without the studio
Even with perfect three-point lighting, a truly polished headshot means nailing focus, expression, posing, background and post-processing at once. That's a lot of variables for a solo shoot.
The self-portrait challenge is real. It's nearly impossible to be both the photographer and the subject simultaneously. You can't adjust the lighting, check focus, and capture a relaxed, natural expression while sprinting back from the camera before the self-timer fires. Budget gear also has limitations: lower light output means higher ISO settings and more image noise, inconsistent color quality across cheap bulbs, and no precise modifiers to control light spill.
AI headshot generation became a practical alternative in 2026 for exactly that reason. Tools like Starkie AI use models trained on professional portrait lighting and posing to produce studio-quality headshots from casual photos you already have, without gear, a studio or the self-timer dash. You upload a few photos and the model handles light direction, skin tone rendering, catchlights and backgrounds.
Understanding three-point lighting actually makes you a better consumer of these tools, too. You can appreciate what the AI is optimizing for: the direction of shadows, the subtlety of the rim light, the balance of the fill. The knowledge is complementary.
For practical use cases like LinkedIn profile updates, acting portfolios, company team pages, and social media branding, where you need a polished result quickly and affordably, AI headshot generators can save hours of setup time while producing consistent, professional results. You can browse different headshot style packs to find the look that matches your needs.
Light it up this weekend
That 100-millisecond first impression is shaped more by lighting than anything else, and the framework for controlling it is short: key light for shape, fill for balance, back light for separation. A $12 to $17 setup, using things you mostly already own, will change your portraits this weekend.
Grab a desk lamp, a foam board and a clamp light, then move them around and watch the shadows shift on the face. Once you've seen what intentional lighting does, flat overhead-lit snapshots stop being acceptable.
When you want the result without the setup, Starkie AI generates studio-lit headshots from photos you already have.