The portrait that landed me my last job interview was lit by a $7 desk lamp and a bedsheet taped to a curtain rod.
That's not a humble brag. It's a statement about how lighting actually works. Professional studios charge $250 to $500 for headshots, yet the core techniques behind those photos, Rembrandt, butterfly, split, were invented long before softboxes existed. Rembrandt van Rijn was shaping light with windows in the 1600s. Hollywood glamour photographers were using simple lamps and white fabric in the 1930s. The tools have always been basic. The knowledge is what matters.
What follows is eight step-by-step lighting setups you can build tonight from things already in your home, or after one trip to a dollar store. Each is matched to a real use case: LinkedIn headshots, dating app photos, creative portraits, YouTube thumbnails, studio-quality backgrounds. The whole lot comes in under $50, usually under $20.
If you'd rather skip the setup entirely, an AI headshot generator like Starkie AI does the same job differently. Either way the underlying principles are worth knowing.
Why lighting matters more than your camera (and why you don't need expensive gear)
Professional photographers repeat one principle constantly: light quality accounts for roughly 80% of a portrait's impact. An iPhone under great light beats a $3,000 DSLR under bad light. As the Adorama Learning Center put it in 2024, "Gear doesn't matter nearly as much as lighting. Good light can make an amateur photo look professional, but even the best camera in the world can't fix a poorly lit scene."
Smartphone computational photography has closed the gap dramatically. On compressed platforms like LinkedIn or Instagram, the difference between a phone and a professional camera is often invisible. In a viral 2023 challenge by the Phlearn YouTube channel, a portrait shot with a 2017 iPhone under $50 lighting received better public ratings than a $4,000 Canon setup under poor lighting.
You're controlling three properties when you shape light.
Direction determines where the shadows fall and sets the mood.
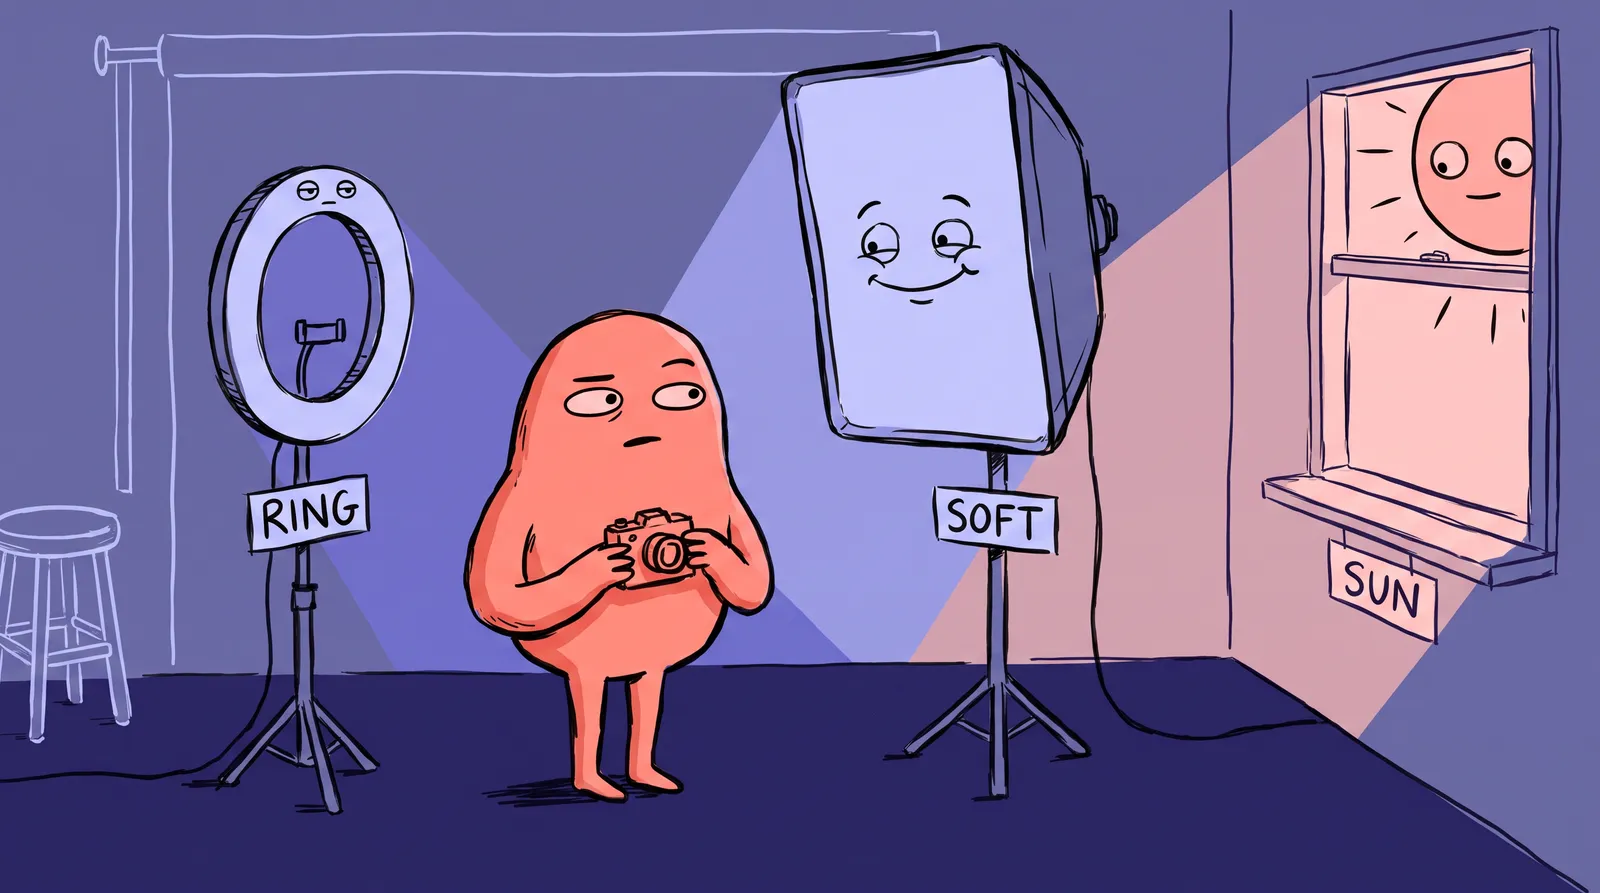
Quality is whether the light is hard or soft. Soft light wraps around your face the way shade does under a tree; hard light cuts like direct noon sun. A large source relative to the subject, such as a window, gives you soft light. A small, distant point source, like a bare bulb across the room, gives you hard light.
Color temperature is measured in Kelvin. Warm indoor bulbs sit around 2700K to 3200K, daylight is roughly 5000K to 5600K, and overcast skies push past 6500K.
Your household toolkit
You probably own most of this already:
- Desk lamp with a bare LED bulb (~$10)
- White bedsheet or shower curtain ($5)
- Aluminum foil on cardboard ($2)
- Large piece of white posterboard ($1)
- A window facing north or east (free)
That base kit comes in under $20.
One quick note on settings: shoot in portrait mode or manual mode on your phone. Set white balance to match your bulb type (most phones let you choose "tungsten" or "daylight"). Always use a timer or prop your phone on something stable to avoid camera shake.

Setup #1: The window-light Rembrandt (best for LinkedIn & professional headshots)
Rembrandt lighting puts one side of the face in light and leaves a signature triangle of brightness on the shadow-side cheek. It's named after Rembrandt van Rijn, who used this exact pattern in paintings like his Self-Portrait with Disheveled Hair (1628). Great lighting literally predates electricity.
To build it, position yourself 2 to 3 feet from a window, turned at a 45-degree angle so the light hits one side of your face. Prop a white posterboard on the opposite side, on a chair or held by a friend, to bounce fill into the shadows. Set your camera or phone at eye level facing you. No lamp needed.
Use it for LinkedIn headshots, corporate bios and author photos. The slight shadow adds depth and authority without looking dramatic. This is the most commonly requested lighting pattern in professional studios, and it costs you exactly $1 for a posterboard.
Shoot between 9-11 AM or 2-4 PM for softer, more directional window light. Overcast days act as a giant natural softbox. Avoid midday sun that blasts harsh light through the glass.
The mistake people make is standing too far from the window. The inverse square law means that at 2 feet from the window the light is bright and directional, but at 4 feet it drops to one-quarter the intensity. Stay close for soft, sculpted results.
Setup #2: The bedsheet butterfly (best for beauty shots & dating app photos)
Butterfly lighting places the light source directly in front of and above the subject, casting a small butterfly-shaped shadow under the nose. It's also called "Paramount lighting" because Hollywood photographer George Hurrell used it on nearly every star in the 1930s and 40s, from Marlene Dietrich to Joan Crawford.
To build it, hang a white bedsheet or frosted shower curtain from a curtain rod, a door frame, or between two chairs. Put a desk lamp behind the sheet, angled slightly down at your face, so the sheet diffuses the bare bulb into a large soft source. Sit or stand about 3 feet in front of it, facing straight on. For extra polish, rest a foil-covered cardboard reflector on a table below your chin, which fills under-eye shadows and adds a second catchlight.
Use it for dating app photos, beauty portraits and social profile pictures. Butterfly lighting is universally flattering. It minimizes skin texture, slims the face, and creates even, approachable illumination. There's a reason Sephora and Maybelline use this pattern for beauty campaigns.
The mistake here is using a sheet that's too thick (blocks too much light) or a colored sheet that casts an unwanted tint. White or neutral is essential. A frosted shower liner from the dollar store works perfectly.
Setup #3: The desk-lamp split (best for creative portraits & artist headshots)
Split lighting hits exactly one half of the face and leaves the other half in deep shadow. It's bold, dramatic, and everywhere in creative branding, from album covers to thriller author portraits.

To build it, place a bare desk lamp (LED bulb, for safety) at 90 degrees to your face, at eye level, about 2 feet away. Leave the shadow side unreflected. For slightly softer split light, tape a sheet of parchment paper or a white grocery bag over the lamp shade; LED bulbs run cool enough for this to be safe, but never do it with incandescents, which are a fire hazard.
Use it for musicians, artists, writers, anyone after something moodier. Split lighting also converts beautifully to black and white.
As a variation, tape a small strip of aluminum foil to a piece of cardboard and angle it behind your head. This creates a subtle rim light that separates your hair from the background. This one detail elevates the shot from "snapshot" to "portrait."
The mistake is placing the lamp too high or too low, which turns split lighting into an unflattering "campfire horror" look. Keep the bulb at eye level.
Setup #4: The double-reflector clamshell (best for product creators & YouTube thumbnails)
Clamshell lighting wraps the face in nearly shadowless light using two sources, one above and one below. It's the go-to for beauty campaigns and YouTube thumbnails because it's clean, punchy, and makes eyes sparkle with dual catchlights. It's also standard for eCommerce and Amazon product photography because it removes shadows and reveals detail clearly.
To build it, face a window, which is your top light source. Then hold or prop a large piece of white posterboard, or aluminum-foil-covered cardboard, in your lap or on a table just below your chin. That's your bottom fill, and the two sources clamshell around your face.
Total cost: $1 to $3.
Use it for YouTube channel photos, Etsy shop headshots and podcast cover portraits. Any context where you want bright, approachable, "I'm a real person you can trust" energy.
The foil side of the reflector gives a punchier, more contrasty fill. The white posterboard side gives a subtler, softer fill. Flip depending on the mood you want.
Setup #5: The background-separation trick (best for headshots that look studio-quality)
Most DIY headshots fail not because of bad face lighting, but because the background is cluttered, unevenly lit, or the subject blends into it. Separation is what makes a $50 setup look like a $500 one. Professional photographers call this the difference between high-key and low-key portraiture, and it's the single biggest tell of an amateur photo: dark hair melting into a dark wall.
To build it, take any of the four setups above and add one thing: hang a solid-colored bedsheet in black, gray or navy 4 to 6 feet behind you, then aim a second desk lamp at it from a low angle to create a subtle gradient. That separates you from the background and adds depth.
With only one lamp, use the window for face lighting and position yourself far enough from the background that it falls into natural shadow. Even 4-6 feet of distance creates organic separation.
Use it for any headshot that needs to look polished. Combine this with Setup #1 or #2 for results that genuinely rival basic studio output. A professional cloth background (muslin) runs $30-$60. Your spare bedsheet runs $0.

Setup #6: The Hula-Hoop ring light (best for video calls and even, shadowless light)
Ring lights dominate content creation for a reason. Because the light wraps evenly around the camera axis, they produce nearly shadow-free illumination with a distinctive circular catchlight in the eyes. According to Filmstro, they "transform amateur video content into something that looks more high quality."
A professional 18-inch ring light costs $50 to $100 or more. You can build a functional one for about $15.
You'll need a hula hoop or large embroidery hoop (about $3), a 16-foot USB-powered LED strip in daylight white ($8 to $12), zip ties or strong tape, and a phone tripod or a stack of books. Total cost is around $15 to $20.
Starting at the USB connector end, wrap the LED strip tightly around the outside of the hoop, securing it with a zip tie every 3 inches so it doesn't sag or leave gaps. Connect the USB power to a battery pack or wall adapter. Then mount or hang the hoop at face height and put your phone or camera in the center of the ring, clipped to the hoop or on a small tripod behind it.
Three mistakes are common. Using RGB or color-changing LED strips instead of daylight-white 5000K to 5500K LEDs, because the colored modes produce terrible skin tones. Wrapping the strip too loosely, which creates uneven hotspots and dark gaps. And sitting too close: with your face six inches from the ring the center overexposes while the edges stay dim, so two to three feet back is the sweet spot.
How does it compare to the real thing? This DIY version produces roughly 70 to 80% of the quality at about 10% of the price. The main tradeoff is adjustability. You won't have dimming control or color temperature tuning unless your LED strip includes those features.
Setup #7: The foil chiaroscuro (best for dramatic, Renaissance-style portraits)
Chiaroscuro, Italian for "light-dark," is the technique that made Caravaggio's paintings feel alive. A single light source, often candlelight, isolated figures against deep shadow with intense three-dimensionality. As The Art Institute of Chicago notes, Caravaggio wielded chiaroscuro as an "expressive force," using dramatic tonal contrast to create emotional intensity.
You can replicate this in your living room with one desk lamp.

You'll need a desk lamp with a bare bulb, lampshade removed, some aluminum foil shaped into a cone to focus the beam, and black poster board or a dark towel for negative fill. Total cost is around $3 to $8.
Position the bare lamp about 3 feet away, at 90 degrees to one side of your face. Roll the foil into a cone and attach it around the lamp head, which narrows the beam into a focused spotlight. Put the black poster board on the shadow side, opposite the lamp; unlike a reflector, it absorbs light and deepens the shadows rather than filling them. Shoot against a dark background, where a dark blanket hung on a wall works fine, and turn off every other light in the room.
Three things sink this one. Using a broad LED panel instead of a point-source bulb, which kills the contrast the whole technique depends on. Letting ambient room light fill the shadows, which destroys the drama, so shoot in a dark room with the curtains closed. And failing to control spill onto the background: the foil snoot helps, but you may need to angle the lamp or add cardboard flags to keep stray light off the wall.
Setup #8: The backlit glow (best for soft edge light and a dreamy look)
Rim lighting, sometimes called edge lighting or backlighting, places the light source behind the subject. The result is a glowing halo around the hair and shoulders that separates you from the background. As PetaPixel describes, rim lighting "adds depth and visual interest" that front-lighting alone can't achieve.
It's popular in lifestyle content, creative portraits, and anywhere you want an ethereal, dreamy quality.
You'll need a floor lamp or clamp light, a sheer or translucent shower curtain, white poster board for front fill, and optionally some colored cellophane from a craft store (about $1). Total cost is around $5 to $15.
Hang the sheer curtain about 2 feet behind where you'll sit, so it becomes a glowing diffused backdrop. Put the floor lamp directly behind and slightly below your seated position, hidden from the camera, and aim it upward so it shines through the curtain. In front of you, prop up white poster board to bounce some of that light back onto your face; without front fill you'll come out as a silhouette.
Three mistakes to avoid. Leaving the light source visible in frame, where it reads as a distraction rather than an effect. Overexposing the backlight halo, which you fix by reducing wattage, increasing the distance or adding another curtain layer. And skipping front fill entirely, which leaves you with a nice silhouette and no usable portrait.
As a creative extension, tape colored cellophane over the lamp for colored rim lighting. A sheet of blue cellophane on one side and orange on the other creates a cinematic bi-color look. Total cost for both: under $2.
5 common mistakes that make DIY lighting look amateurish (and how to fix them)
Mixing color temperatures is the first. A warm tungsten desk lamp alongside cool daylight from a window gives you an orange-and-blue clash that's painful to correct. Commit to one source, or swap the bulb for a 5000K daylight LED, about $5 at any hardware store.
Shooting against a bright window is the second, and it silhouettes your face. Face toward the light, or angle at 45 degrees. The window is your light source, not your backdrop.
Horror-movie angles are the third. Overhead or below-the-chin lighting creates ghoulish shadows, so keep your key light at or slightly above eye level.
Ignoring the background is the fourth. Clutter, cords and uneven color behind you undo everything else. Use the backdrop technique from Setup #5, or just find a clean wall; our guide on how headshot backgrounds affect first impressions covers the rest.
Over-editing is the fifth. Heavy filters, over-smoothed skin and cranked saturation all read as amateur. Gentle exposure and contrast adjustments are all most DIY portraits need.
When DIY isn't enough: The faster path to a professional headshot
Even with perfect lighting, DIY portraits take time, trial and error, and a willing helper or a tripod and timer. A typical shoot runs 2-4 hours once you count planning, gathering materials, testing, shooting and editing. For a lot of people the goal was never to learn photography. If you're curious about the full cost breakdown, check out our professional headshot cost guide for 2025.
AI headshot generators have become a practical alternative. You upload a few casual photos, and AI handles lighting, background, pose refinement, and professional-grade retouching in minutes. Platforms like HeadshotPro, Aragon AI, and PhotoAI use diffusion models fine-tuned on professional portraits to generate dozens of polished options.
Here's how the options stack up:
| Path | Cost | Time | Output |
|---|---|---|---|
| Professional studio | $250-$1,000+ | Half-day with travel | Fewer than 10 finished images |
| DIY setup | Under $50 | 2-4 hours | Varies by skill |
| AI headshot generator | $29-$59 | 30-120 minutes | 50+ usable options |
Since the Lensa AI boom in late 2022, search interest for "AI headshot" has grown steadily, even overtaking "professional photographer near me" during key hiring seasons like January and May, according to Google Trends data from 2023 and 2024.
For readers who want studio-quality results without the $50 build or the 2-hour shoot, Starkie AI generates polished, natural-looking headshots from everyday photos. It's a great fit for LinkedIn, resumes, company directories, or any professional context where you need a sharp headshot fast.
Think of it as a spectrum. DIY setups give you creative control and teach you how light works. AI headshot tools give you speed, consistency, and convenience. Both are valid paths away from overpriced studios.
Quick-reference recap
| Setup | Best For | Key Gear | Cost |
|---|---|---|---|
| #1 Window Rembrandt | LinkedIn, corporate bios | Window + posterboard | $1 |
| #2 Bedsheet Butterfly | Dating apps, beauty shots | Desk lamp + bedsheet | $15 |
| #3 Desk-Lamp Split | Creative portraits, artist headshots | Desk lamp + parchment paper | $12 |
| #4 Double-Reflector Clamshell | YouTube thumbnails, product creators | Window + foil reflector | $3 |
| #5 Background Separation | Any polished headshot | Backdrop sheet + second lamp | $20 |
| #6 Hula-Hoop Ring Light | Video calls, even shadowless light | LED strip + hula hoop | $25 |
| #7 Foil Chiaroscuro | Dramatic, moody portraits | Desk lamp + aluminium foil | $8 |
| #8 Backlit Glow | Soft edge light, dreamy look | Floor lamp + sheer curtain | $18 |
Professional-quality portrait lighting comes from understanding light, not from owning expensive gear. Eight setups, a household toolkit and a list of mistakes to avoid is everything you need to shoot a good headshot tonight for under $50.
And if you'd rather skip the whole build, Starkie AI does it in minutes. Your bedsheets will thank you.