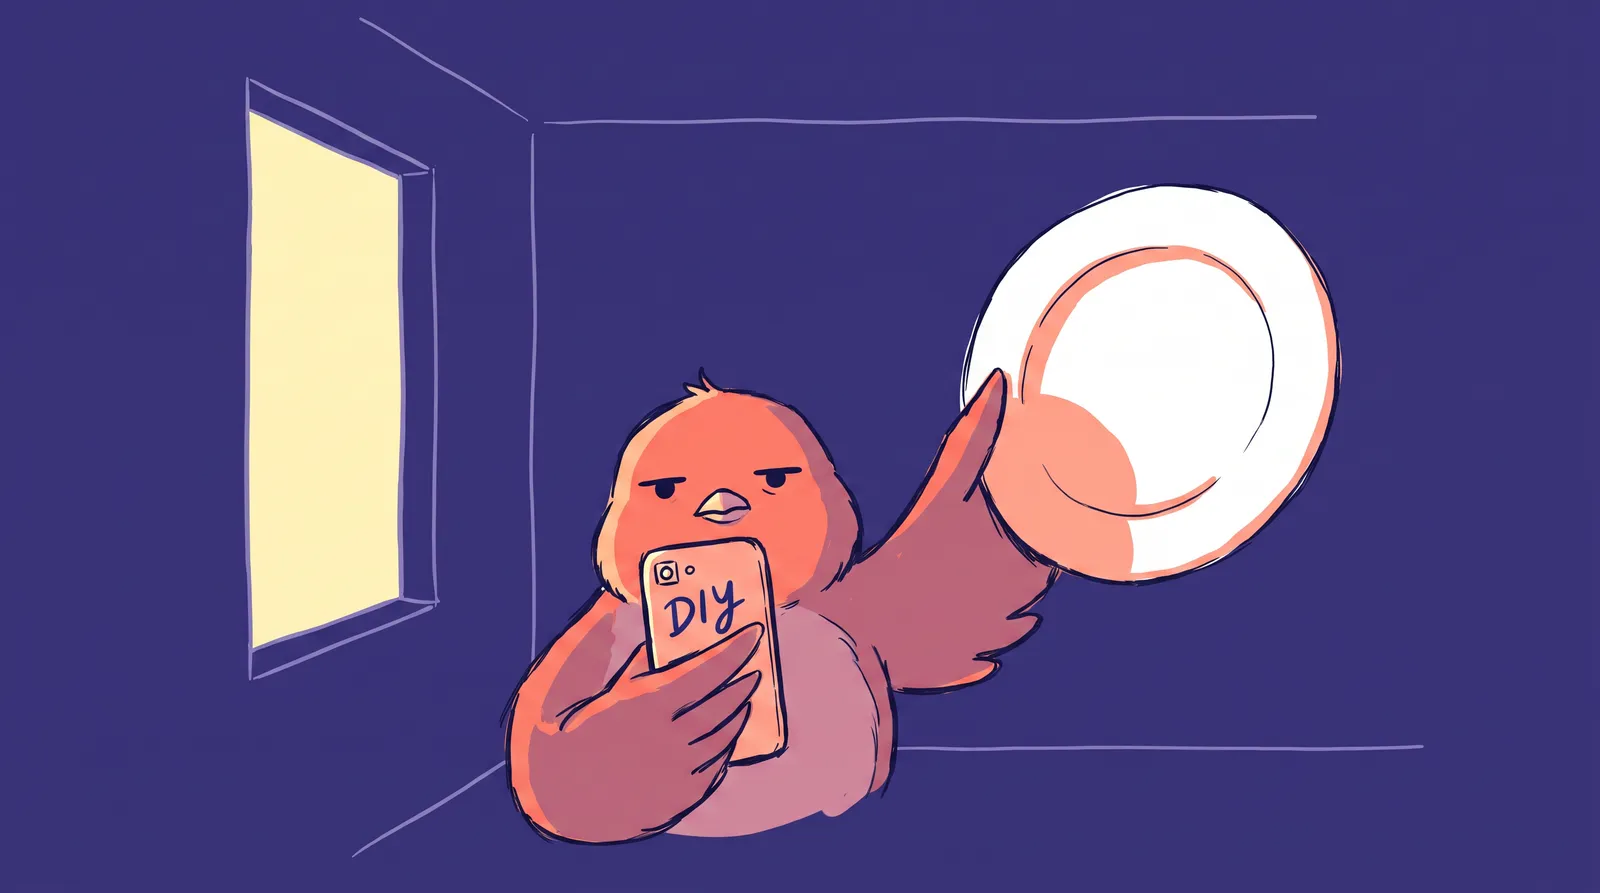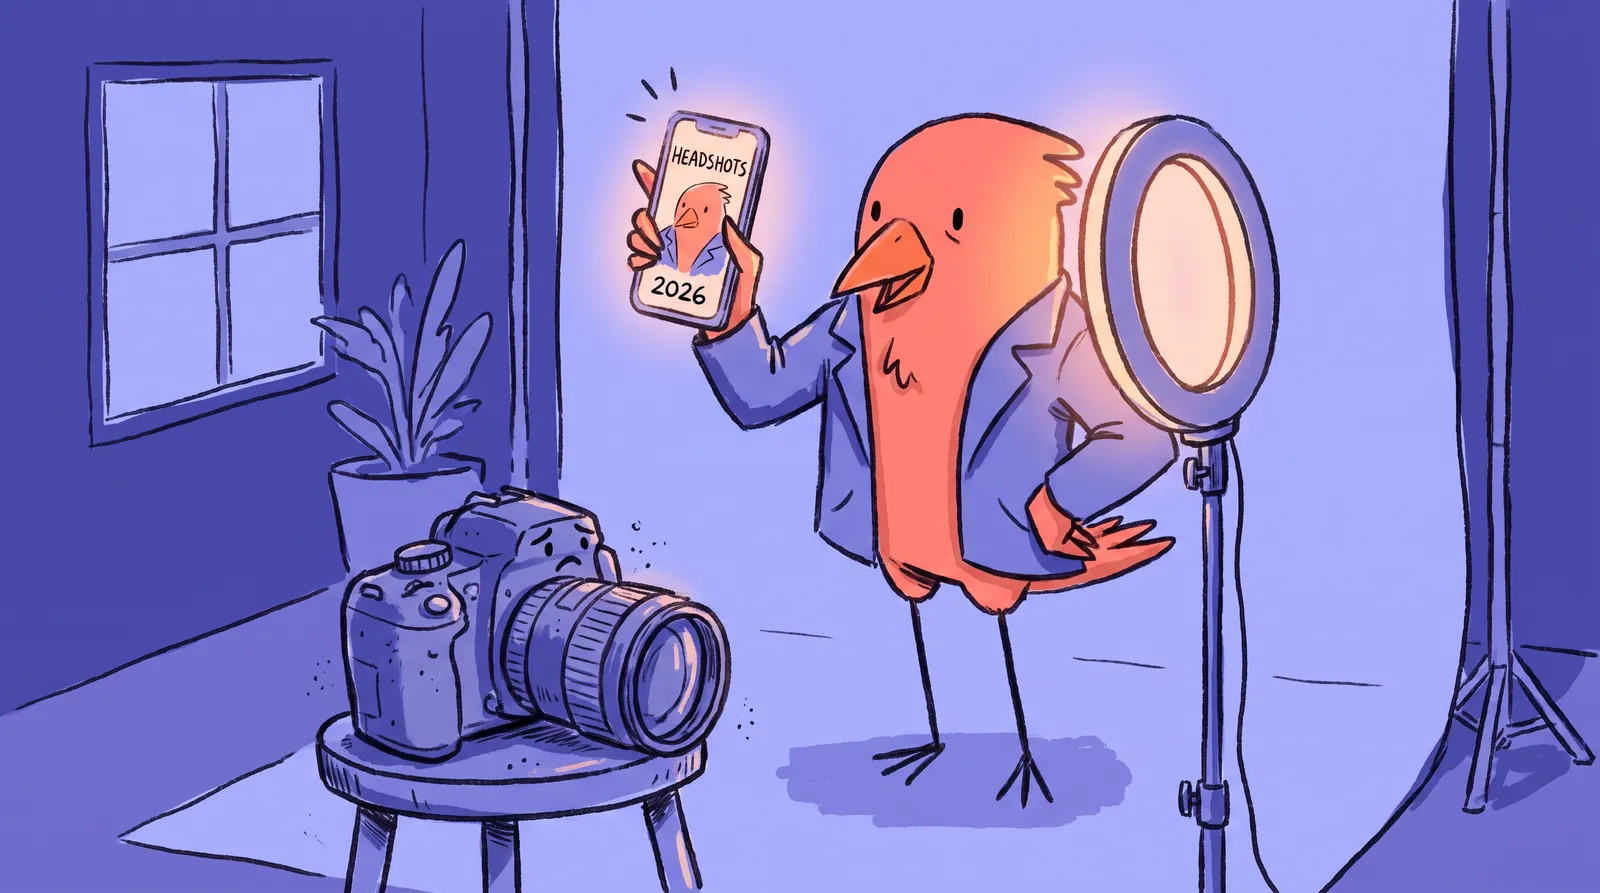
A recruiter will judge your headshot in under 100 milliseconds. That's not a metaphor. It's how fast the human brain forms a first impression from a face. And yet, most people either skip having a professional headshot entirely or keep postponing that $300 studio session they bookmarked six months ago.
The phone in your pocket is genuinely capable of a headshot good enough to impress. Mid-range Android or the latest iPhone, the hardware isn't what's holding you back. Technique is.
What follows is a step-by-step playbook covering the five controllable variables that separate a forgettable selfie from a standout headshot, plus how pairing your best phone photo with an AI headshot tool gets you the rest of the way.
Why your smartphone is already good enough (and what's actually holding you back)
You do not need a DSLR or mirrorless camera to take a great headshot.
By 2026, smartphones capture an estimated 94% of all photos taken worldwide. Flagship devices like the Samsung Galaxy S26 Ultra pack 200 MP sensors and advanced computational HDR that blends multiple exposures instantly. For digital use on LinkedIn, a website bio, or social media, a modern phone is genuinely good enough. The limitations only show up when you're printing at billboard scale.
So if the hardware isn't the problem, what is? The culprits behind bad phone headshots are all behavioral: standing at the wrong distance, which distorts the face; unflattering angles that exaggerate chins or shrink foreheads; harsh or inconsistent lighting; and cluttered backgrounds that immediately read as amateur. Every one of them is fixable with knowledge rather than money.
And the stakes for fixing them have never been higher. Remote-first hiring, LinkedIn profile views driving career opportunities, personal branding across social platforms, and AI-powered applicant screening that processes profile images all make your headshot a silent gatekeeper. It's working for you or against you every single day.
Five variables are in your control: lens choice, distance and angle, background, light, and posing. Get those right and the phone becomes a portrait studio.

Lens selection and focal length: The biggest mistake most people make
This single mistake ruins more phone headshots than anything else. And almost nobody talks about it.
The default "1x" lens on most smartphones is a wide-angle lens, typically equivalent to 24mm to 28mm. When you fill the frame with a face using that lens, you have to get close. And when you're close with a wide angle, something ugly happens: the nose appears larger and bulbous, the ears seem to recede, and the whole face looks wider than it actually is. Even if your lighting and background are perfect, the distortion makes the photo look amateurish.
The rule that fixes it: always use the 2x or 3x optical zoom lens.
Professional portrait photographers shoot with 85mm to 105mm lenses specifically because they compress facial features naturally and flatter the subject. Your phone's telephoto lens (labeled 2x, 3x, or 5x in the camera app) mimics this compression. By 2026, 2x and 3x optical zoom lenses are standard on nearly all flagship and many mid-range phones.
One important caveat: avoid digital zoom between optical stages. If your phone has 1x and 3x optical lenses, shooting at 2.5x zoom just crops and upscales the wider lens image, introducing noise and artifacts. Stick to the dedicated optical zoom steps.
A quick drill proves it. Sit in a chair and take three photos of your face at 1x, 2x and 3x from the same spot, then compare the nose-to-ear ratio. The difference is immediately obvious.
If your phone has only one rear lens, step further back and crop afterwards. A 50 MP sensor on a budget 2025 phone leaves you enough resolution to crop tight without much loss.
What about Portrait Mode? It's great for solo headshots against simple backgrounds, and the AI-simulated bokeh can look genuinely impressive. But it can produce artifacts around hair and glasses. Turn it on, review the result carefully, and always keep the standard version too.
Distance, angle, and framing: Position yourself for maximum impact
You've selected the right lens. Now, where do you stand?
The ideal shooting distance on the 2x lens is roughly 6 to 8 feet between the camera and your face. Far enough to avoid distortion, close enough to fill the frame with your head and upper shoulders. A helpful rule of thumb: if you can reach out and touch the camera, you are too close.
Camera height matters enormously. The lens should sit at or slightly above eye level. Shooting from below exaggerates the chin and neck. Shooting from too far above makes you look small. Use a tripod, or stack books and boxes to nail the height. This small adjustment changes everything.
For framing, the classic crop sits just below the shoulders, with a small buffer of space above the top of the head. Don't crop at the chin. Don't show the full torso. Place your eyes on the upper third line of the frame, following the rule of thirds.
The three-quarter angle does most of the work. A slight body turn, roughly 30 to 45 degrees off-center, with your face turned back toward the camera is universally flattering. It slims the jawline and creates a sense of depth. A straight-on angle is powerful but less forgiving of asymmetry.

Background setup on a budget: Clean, professional, and free
A busy or cluttered background instantly signals "amateur" to the viewer's brain before they've even consciously processed the image. Your background's job is to disappear.
The best free background is a plain wall. White, light gray, warm beige or a soft muted color all work. Walk through your home or office right now and identify two or three candidate walls.
One critical rule: position yourself 3 to 4 feet away from the wall. This prevents harsh shadow halos from forming directly behind you, a telltale sign of amateur photography.
If you want to spend a little, a $20 to $30 fabric backdrop in neutral gray or classic white, hung over a curtain rod or doorframe, looks identical to what a studio uses, and it packs flat and washes.
Outdoors, an overcast sky works as a clean backdrop, as does a plain brick or stone wall with even color, or a greenery wall, which has become popular for business headshots in 2026. Avoid fences, parked cars and anything with strong horizontal lines competing for attention.
What about Portrait Mode blur? It's fine as a finishing tool, but a physically clean background always looks more natural. It also produces better results when an AI tool later enhances the image, since the AI has cleaner data to work with.
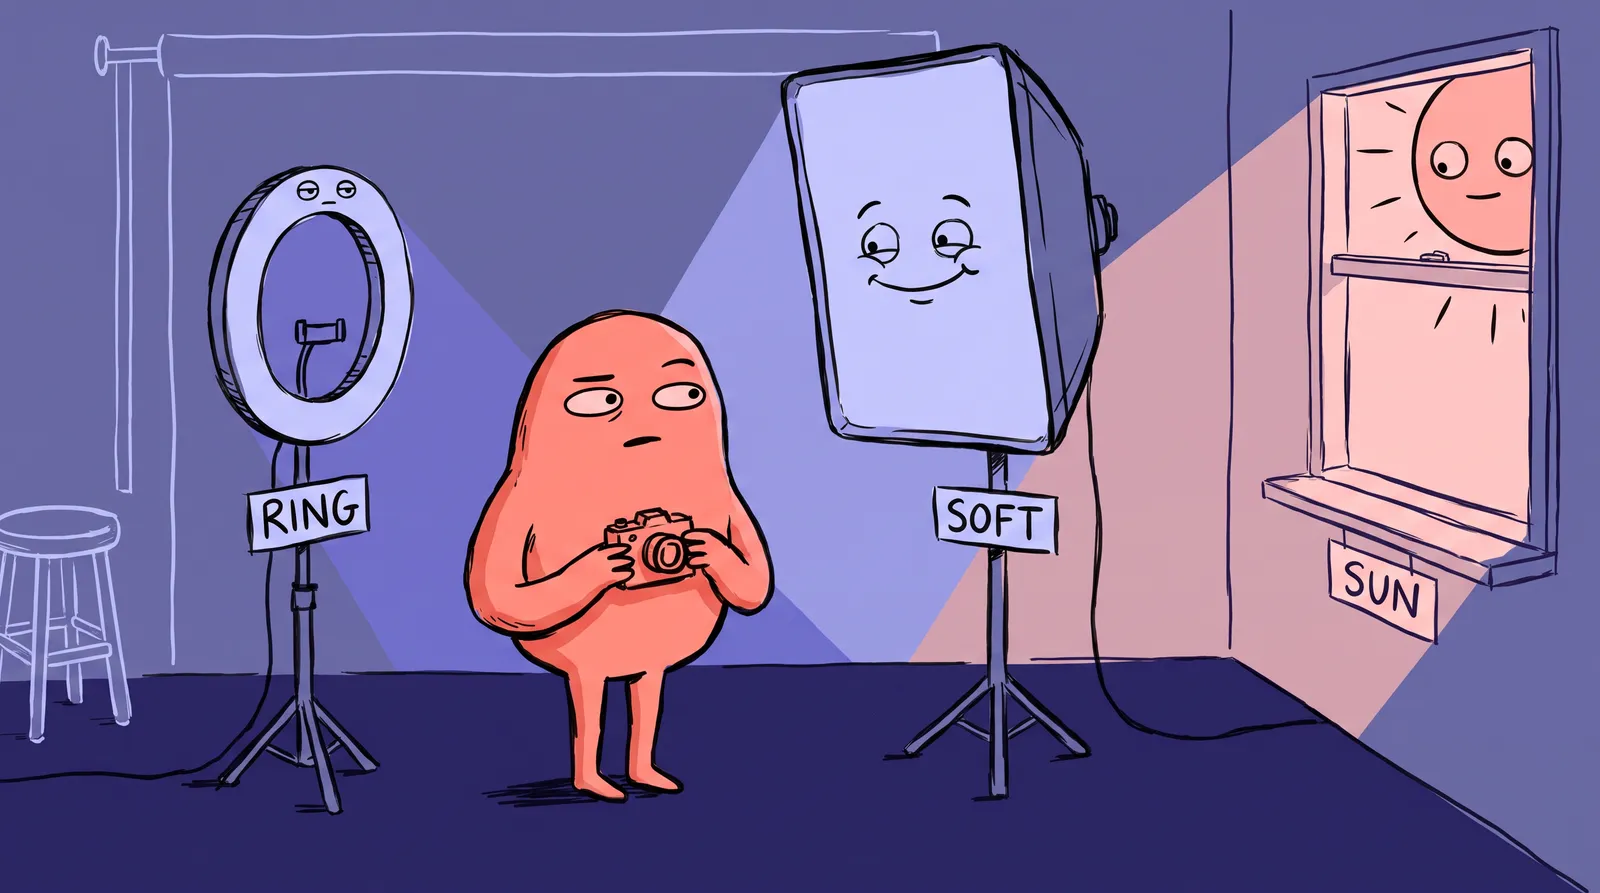
Mastering natural light: The one variable that transforms everything
Light is the most powerful tool available to you as a smartphone photographer. It's free, it's everywhere, and controlling it makes a bigger difference than any camera upgrade ever could. Expert photographers confirm that understanding light quality matters roughly 10x more than upgrading hardware.
The hour after sunrise and the hour before sunset give you warm, directional light with soft shadows, which is ideal for a headshot with some character to it.
Midday direct sun is the enemy. It carves harsh shadows under eyes and noses, the raccoon effect, and makes you squint. If you have to shoot at midday, find open shade.
Overcast days are the secret weapon. A fully cloudy sky is a giant natural softbox, producing the even, shadow-free light portrait photographers spend thousands replicating indoors. Gray skies are headshot weather.
Indoors, face a large window that isn't catching direct sunbeams. That's the easiest indoor setup there is. Put a white towel, foam board or sheet on the opposite side, just out of frame, to bounce light back into the shadows.
Three indoor mistakes account for most bad results: overhead ceiling lights casting downward shadows that age your face, mixed color temperatures where a warm lamp fights cool window light, and fluorescent office lighting throwing green or yellow onto skin. The fix for all three is the same. Turn off every artificial light and use the window.

Directing natural poses and expressions: The hardest part made simple
Most people freeze the moment a camera appears. This is completely normal. Roughly 90% of clients report feeling uncomfortable before a brand session. The brain treats being photographed as a mild social threat, and your face tenses in response.
The reset between shots is the single best tool for natural expressions. Instead of holding a smile, which fatigues the muscles and looks forced within seconds:
- Look away from the lens.
- Take a breath.
- Look back at the lens.
- Shoot within the first second of eye contact.
That first-second expression is reliably the most natural and relaxed one you'll capture.
Three posture cues do the rest. Roll your shoulders back and slightly down. Elongate your neck by imagining a string pulling the crown of your head upward. And angle your chin very slightly downward, inclined rather than tucked. Together they read as confident and composed.
Shooting solo, use a three or ten-second timer with a Bluetooth shutter remote ($8 to $15) to avoid the outstretched-arm angle. If a friend is helping, ask for bursts of five to ten frames so you can pick the best expression out of the sequence.
In practice it looks like this. Sarah, a freelance graphic designer, follows this guide on a Sunday morning. She grabs her 2021 mid-range Android, switches to 2x zoom, and positions herself 7 feet from the camera facing a north-facing window. She stands in front of her cream-colored living room wall and shoots 40 frames using the burst-and-reset technique. Out of 40 shots, 4 are excellent. One becomes the source image she takes into an AI headshot tool.
From good phone photo to professional headshot: Where AI finishes the job
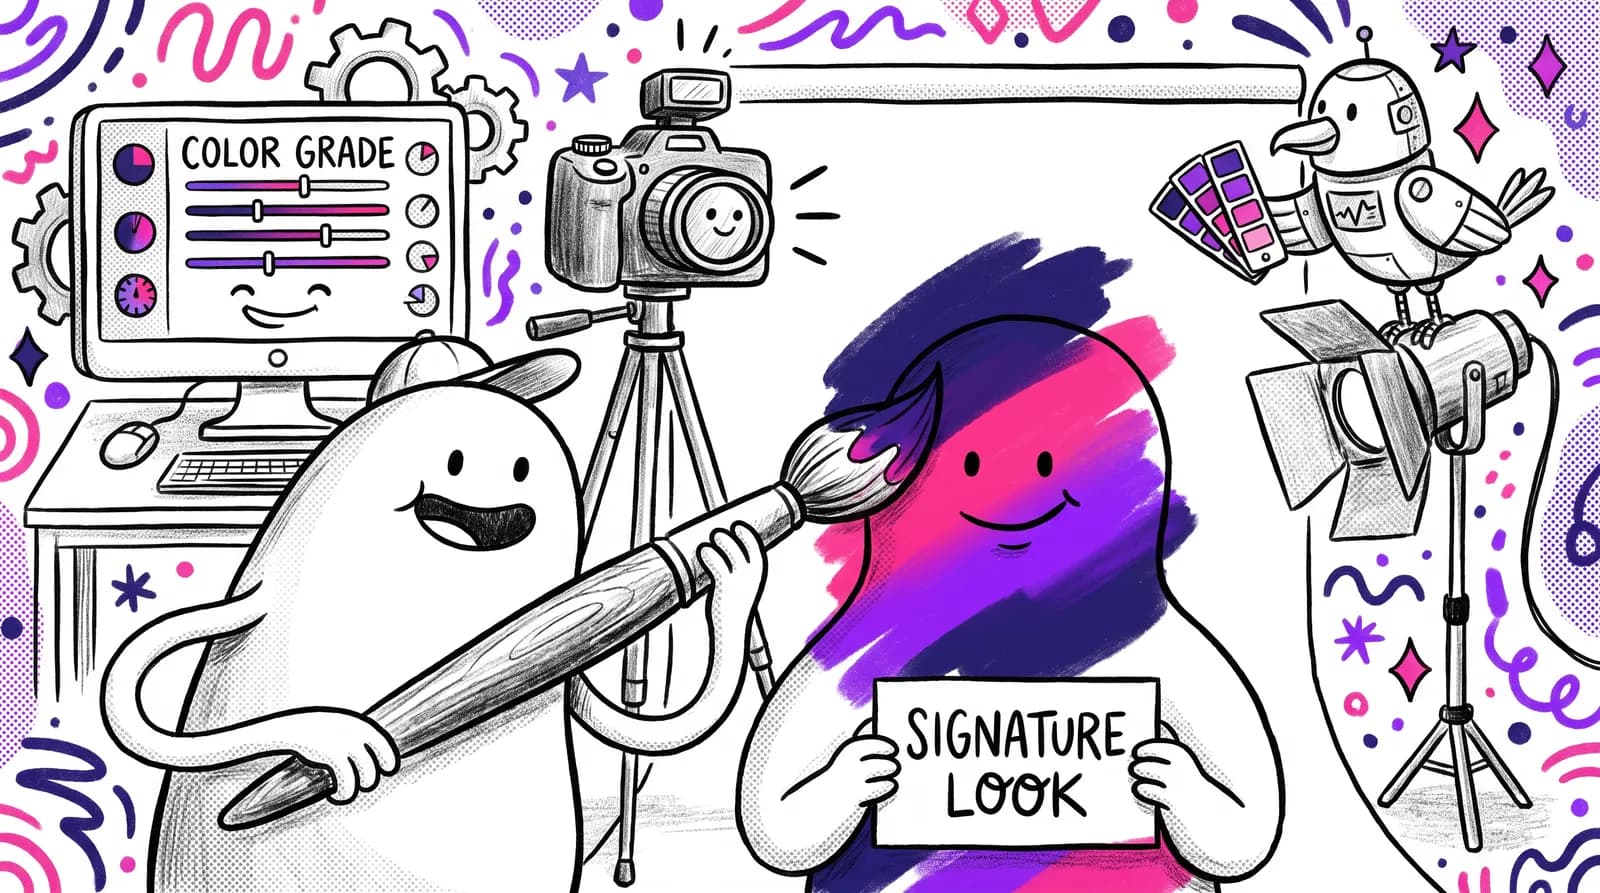
With the techniques above you can capture a properly framed, well-lit, naturally posed photo with all the raw ingredients of a great headshot. What a phone shot still lacks is true optical depth of field, since Portrait Mode struggles with fine details like flyaway hair, along with commercial-grade color grading and the polish that reads as studio work.
That's where AI headshot generators come in, not as a replacement for good technique but as an amplifier of it.
The 2026 generation of AI headshot tools has crossed a meaningful threshold. Most general viewers genuinely cannot distinguish AI-generated headshots from studio photography at standard digital thumbnail sizes. These tools are trained on thousands of professional studio headshots and can analyze a well-shot source photo to generate polished, studio-quality versions.
The important part: these tools produce dramatically better output when the source image is well-lit, properly framed and free of distortion. Everything in this guide directly improves what comes out the other end.
The landscape includes several capable tools. Aragon AI is consistently rated highly for likeness preservation in 2026. HeadshotPro is popular with enterprise teams seeking uniform consistency. BetterPic is recommended for ultra-realism and 4K resolution. For those already in the Canva ecosystem, their AI headshot feature offers a solid budget option.
Starkie AI is designed for exactly this workflow. Upload one or a few well-shot phone photos, select a style or background, and receive a gallery of professional headshots in minutes. You don't need photography experience beyond what this guide has covered. And the cost is a fraction of a studio session.
The smartphone stopped being a compromise a while ago. The five techniques here capture the raw material and the AI does the studio finishing.
Your Sunday morning headshot plan
That 100-millisecond first impression happens every time someone opens your profile. The only variable is whether the photo helps you.
The phone in your pocket, the five techniques here and a tool like Starkie AI put a professional headshot within an afternoon's reach.
So: pick a Sunday morning, find your best wall, switch the camera to 2x, face a large window, stand seven feet back, and take 30 frames using the reset technique. Then let Starkie AI finish the best one.