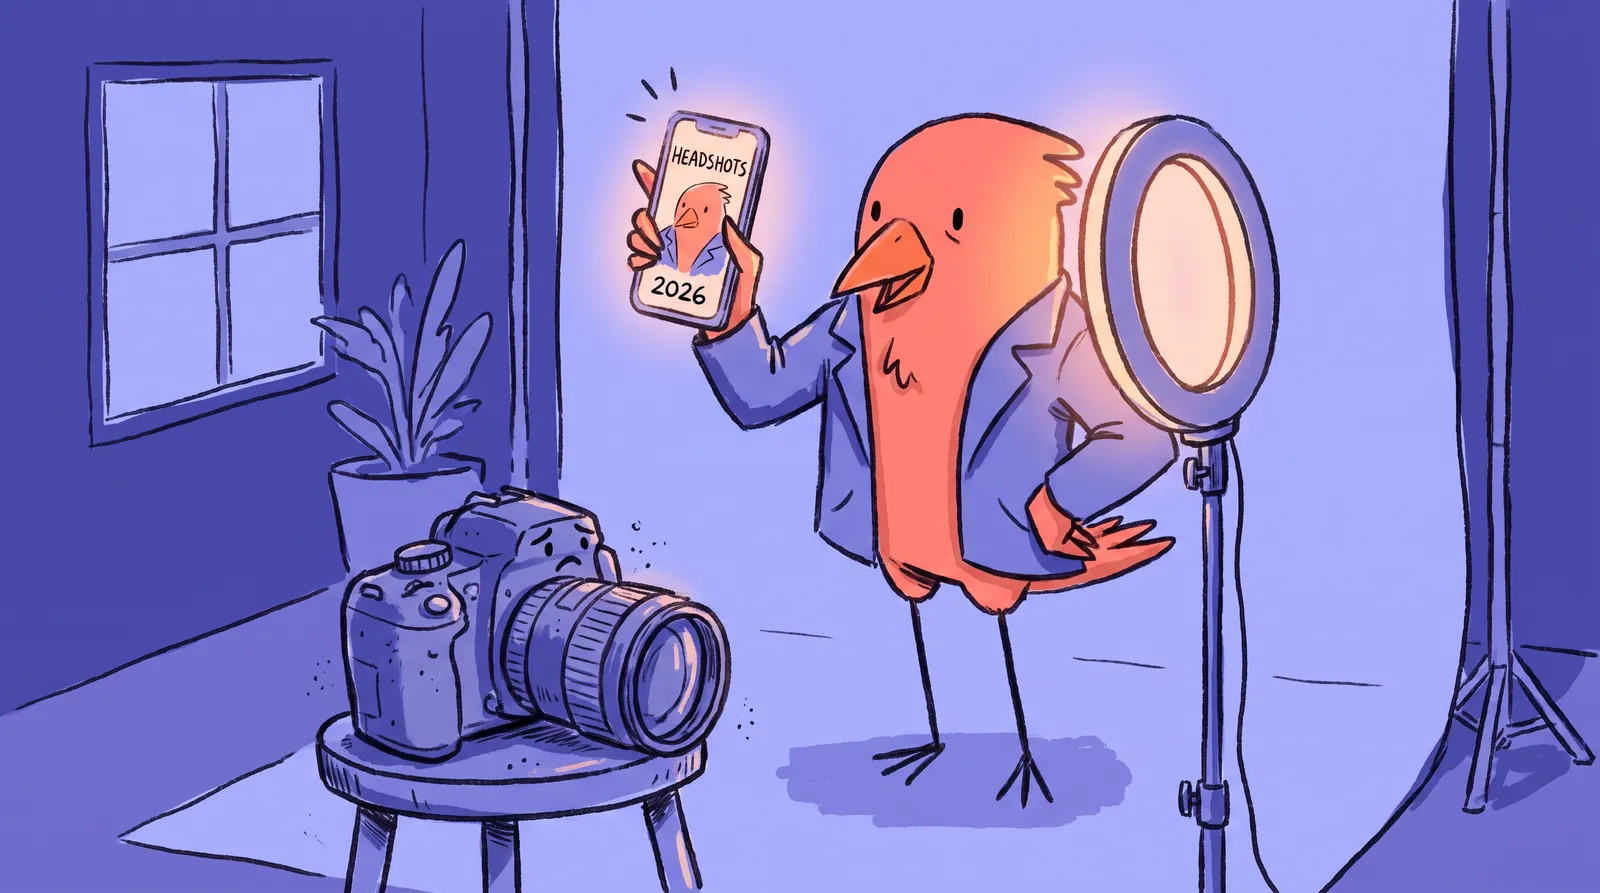
In a recent experiment that's been making the rounds among portrait photographers, a group of hiring managers were shown two headshots side by side. One was taken with a $1,900 Sony a7C II mirrorless camera and an 85mm prime lens. The other came from an iPhone 16 Pro in Portrait Mode, propped on a $15 tripod next to a window. The result? Most viewers couldn't consistently identify which was which.
That little experiment tells you everything about where headshot photography stands in 2026. The gear gap has narrowed dramatically, and the old assumption that you need thousands of dollars in equipment to get a "professional" result just doesn't hold up anymore.
What follows isn't a spec-sheet showdown. It covers the gear that actually changes how a headshot looks, organized by budget: three tiers from under $300 to $1,000 and up, why focal length matters more than your camera body, and where AI headshot generators fit now that they need no gear at all.
Why your gear matters less than you think (but still matters)
Full-frame is not mandatory for headshots. It never was, and in 2026 the argument is weaker than ever. APS-C and Micro Four Thirds sensors produce results that are indistinguishable from full-frame under controlled headshot lighting conditions. Side-by-side print comparisons of headshots taken with cameras like the Canon R5 (full-frame) and the Fujifilm X-T5 (APS-C) under identical studio lighting are now virtually identical to everyone except specialized printers and pixel-peepers.
Why? Because at headshot-appropriate ISOs (typically ISO 100 to 400), dynamic range and noise performance differences across sensor formats have become negligible. The quality ceiling in a portrait session is set by your light modifier and your lens, not your sensor.
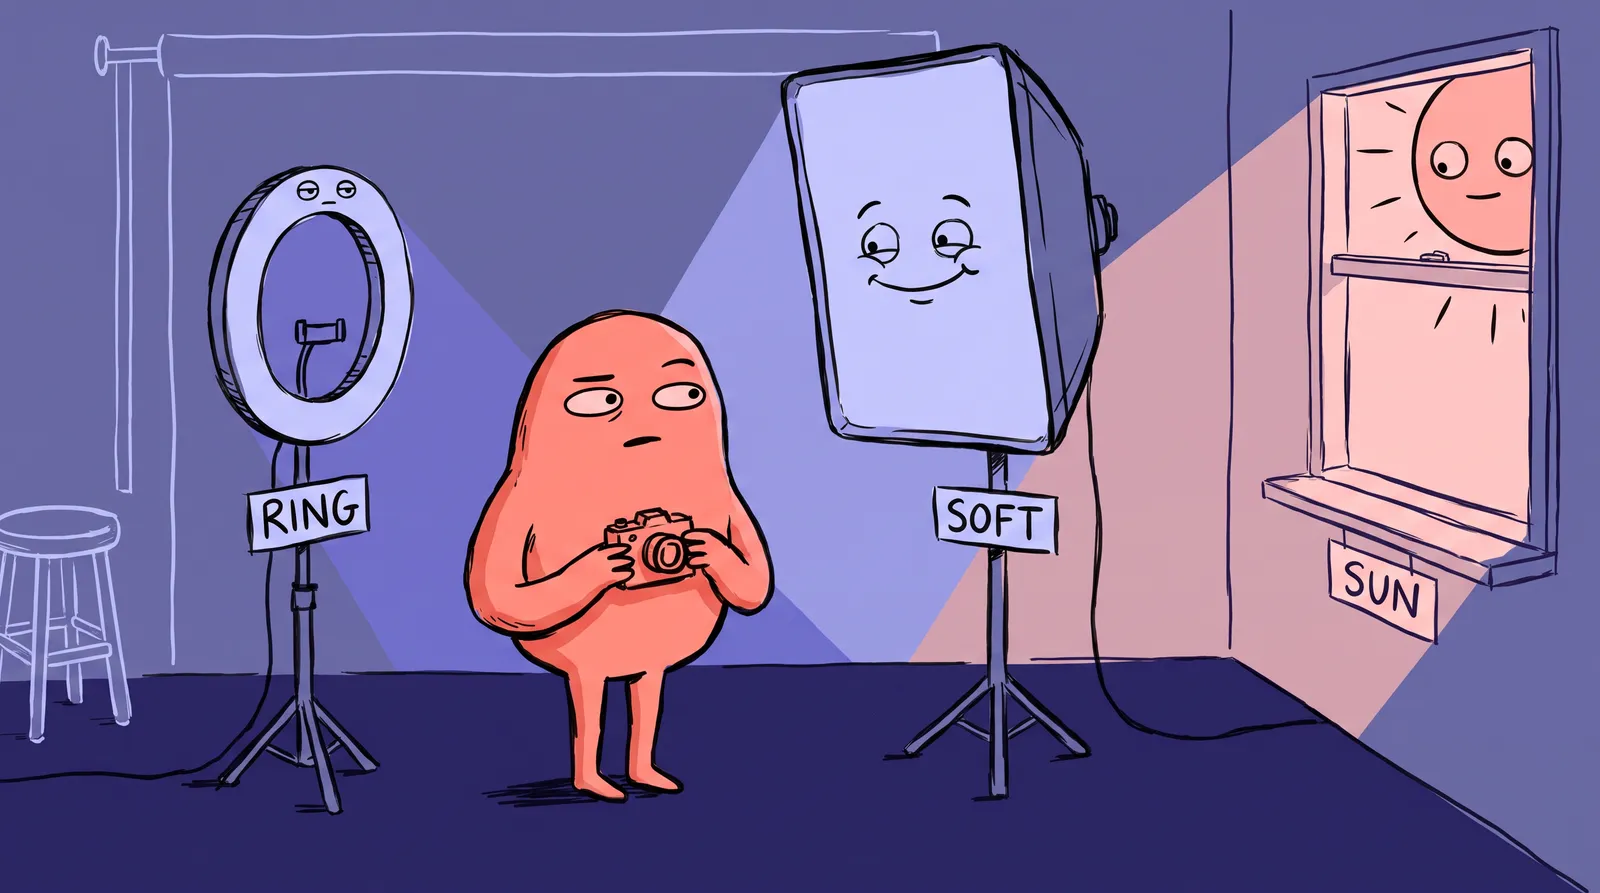
Three variables define headshot quality. Focal length controls how facial features render and is the most consequential technical decision you make. Light quality comes next: a large, soft source close to your subject gives you flattering skin texture and strong catchlights, and a 48-inch softbox two feet away will beat a brand-new body with direct on-camera flash on a five-year-old camera. Background separation is third, and it needs less than people think. You want an uncluttered, soft background, not total bokeh obliteration, which starts to look unnatural once an ear goes out of focus. Even Micro Four Thirds handles this easily at f/1.8 to f/4.
Camera bodies hit diminishing returns much sooner than lenses or lighting do. Once the body crosses the good-enough threshold, every dollar on better glass or a larger softbox beats a dollar on more megapixels.

Three budget tiers follow. The first is for the DIY job-seeker, the second for semi-pros and serious enthusiasts, the third for working portrait professionals shooting commercially.
Budget tier 1 (under $300): Surprisingly professional results on a shoestring
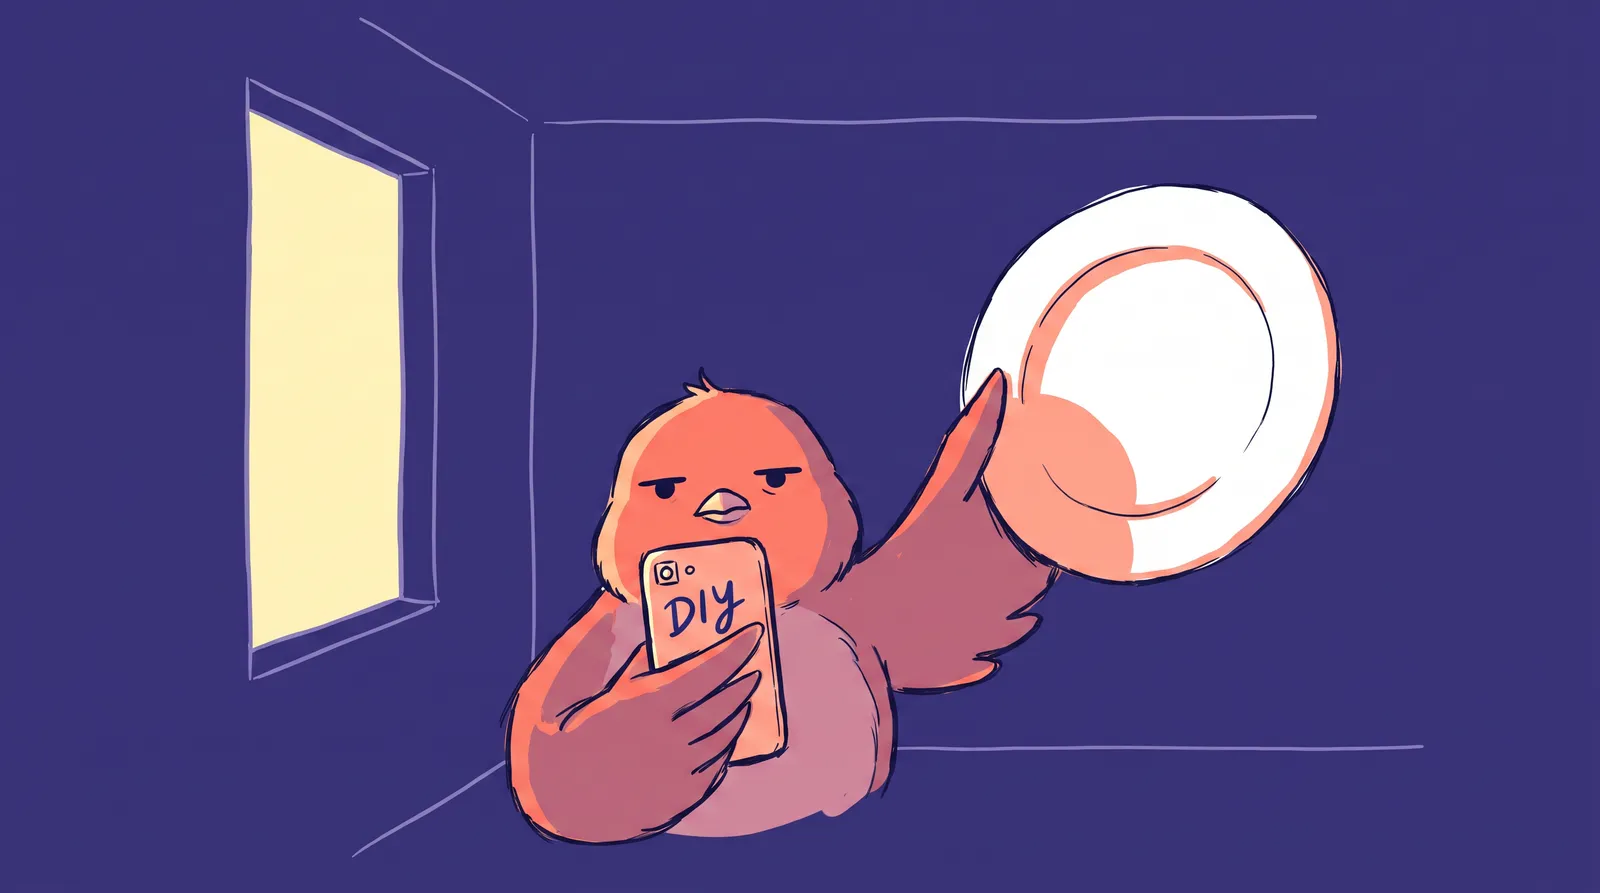
You might already own the best camera for this tier: your smartphone. The iPhone 16 Pro, Google Pixel 10, and Samsung Galaxy S26 all feature Portrait Modes that have largely overcome the hair-artifact issues that plagued earlier versions. The key trick is using the telephoto lens (typically 2x or 3x optical zoom), which simulates roughly a 50 to 80mm focal length and compresses features naturally.
If you want a dedicated camera, two used options are worth a look. The Sony a6000, released in 2014 and still perfectly viable, runs about $180 to $220 body-only on resale sites like MPB. The Canon EOS M50 Mark II goes for roughly $220 to $270 refurbished. The Canon's EF-M lens line has been discontinued, which actually makes it cheaper to buy into, though less future-proof.
The thing that actually changes results at this tier isn't the camera body. It's one lens.
That would be the 50mm f/1.8, the "nifty fifty." On an APS-C camera like the Sony a6000, a 50mm lens gives you an effective focal length of about 75 to 80mm, which lands squarely in the flattering headshot range. The f/1.8 aperture creates beautiful background blur that the bundled kit lens (usually f/3.5 to 5.6) simply cannot replicate. The Sony E 50mm f/1.8 runs about $198 new. This single purchase delivers more headshot quality improvement than any camera body upgrade at this price point.
For lighting, skip the $40 ring light. Ring lights produce flat, unflattering catchlights. Instead, grab a $30 to $60 collapsible 5-in-1 reflector and position your subject next to a large window with natural, indirect light (north-facing is ideal). The results can genuinely replicate studio quality.
Round it out with a $15 Bluetooth remote shutter release for sharp solo shots, a used tripod under $40, and a plain wall or simple fabric backdrop for $20. Total investment: well under $300, and often under $100 if you already own a recent smartphone.
This tier suits a job seeker who needs one strong headshot quickly.
Budget tier 2 ($300-$1,000): The sweet spot for semi-pros
This is where things get exciting. Modern APS-C cameras in this range deliver autofocus and image quality that were exclusive to full-frame flagships just a few years ago.
Three bodies stand out in 2026. The Canon EOS R50, around $679 new body-only, is Canon's cheapest RF-mount camera and gets you into the modern RF lens ecosystem plus Canon's famously warm skin tones, with enough left over for a decent lens. The Fujifilm X-S20, around $900 used or refurbished, is known for its Film Simulations, and the Astia and Pro Neg. Std presets produce skin tones flattering enough to skip post-processing entirely. The Sony a6700, around $950 used or refurbished, inherits Real-time Tracking and Eye AF from Sony's flagships and effectively focuses for you, which leaves you free to direct your subject.
Pair any of them with the Sigma 56mm f/1.4 DC DN Contemporary, roughly $429 to $479 new and available for Sony E, Fujifilm X, Canon RF and Nikon Z. At 56mm on APS-C you get an 84mm full-frame equivalent, right on the headshot number, and f/1.4 gives you the background separation.

The biggest quality leap in this tier, though, comes from lighting. A single off-camera speedlight ($80 to $120) paired with a small softbox or shoot-through umbrella transforms headshot quality more dramatically than any camera body upgrade. The difference between on-camera flash and a properly positioned off-camera strobe with a modifier is night and day.
For backdrops, collapsible muslin options run $40 to $80. But there's a growing trend toward environmental headshots that require no backdrop at all. Which approach works depends on your industry: law and finance tend to prefer clean, neutral backgrounds, while creative and tech professionals often look better in contextual settings.
Budget tier 3 ($1,000+): Professional kits worth the investment
This level of investment makes sense in three situations: working photographers shooting headshots commercially, actors who need print-quality 8x10s, and executives whose images will run in major publications or on book covers.
For camera bodies, the Sony a7C II (about $1,900 new, roughly $1,600 used) is a compact full-frame option sharing its sensor and autofocus processing with the a7 IV. The Nikon Z6 II, at around $1,400 new, offers strong value with dual card slots for professional reliability.
Consider renting before buying. A full Tier 3 kit (say, a Sony a7 IV plus the 85mm f/1.4 GM) runs close to $4,000 to purchase. Renting the same setup from services like LensRentals for a weekend session costs roughly $150 to $250, including insurance. For a one-off headshot session, this is the smarter move.
Lenses that genuinely outperform cheaper alternatives here include the Sony FE 85mm f/1.4 GM, the Sigma 85mm f/1.4 Art and the Tamron 85mm f/1.8 Di III. The differences show up in sharpness wide open, bokeh character (the quality of the blur, not just the amount), and color rendering on skin.
For studio lighting, a two-light setup covers virtually every headshot scenario. A key light (something like the Godox AD200 Pro) paired with a hair or rim light lets you execute classic patterns like Rembrandt lighting (a small triangle of light on the shadow-side cheek) and loop lighting (a short shadow from the nose angled slightly to one side). These patterns are the foundation of professional headshot work.
One critical reality check: a $3,000 kit in the hands of someone who hasn't mastered posing, subject direction, and light placement will still underperform a $400 kit used by someone who has. Skill remains the true differentiator.
The focal length deep-dive: Why 85mm is the magic number
This is the most consequential technical decision in headshot photography, and it has nothing to do with what your camera cost.
When you use a wide-angle lens (say, 24mm) for a headshot, you have to move very close to your subject to fill the frame. That close physical proximity exaggerates objects nearer to the lens (the nose) relative to those farther away (the ears). The result is the classic "funhouse mirror" effect: a prominent, widened nose and compressed ears. The lens itself doesn't distort the face. Your proximity does.

At 85mm on a full-frame camera, you fill the frame (shoulders-up) from a comfortable working distance of about six to ten feet. This distance compresses facial features in a way that most subjects find more flattering: the nose appears proportionate, the ears sit naturally, and the face looks balanced and symmetrical.
The "flattering range" spans 70mm to 135mm on full-frame. Below 70mm, you risk unflattering proximity distortion. Above 135mm, faces can start to look unnaturally flat.
Across sensor sizes, the equivalents are: 85mm on full-frame, which is the standard; roughly 56mm on APS-C; and roughly 42.5mm on Micro Four Thirds.
The 85mm focal length also creates a comfortable working distance for your subject. Nobody enjoys having a lens 18 inches from their face. At six to eight feet away, subjects relax, their expressions become more natural, and the resulting images look less stiff.
The camera settings that do the heavy lifting
Settings matter more than gear. A $2,000 camera set wrong produces worse headshots than a $500 setup dialed in correctly.
Aperture: The background blur button
For headshots, f/1.8 to f/2.8 is the sweet spot. This range creates beautiful background blur (bokeh) while keeping both eyes in sharp focus. According to SLR Lounge's headshot aperture guide, f/2.8 is the industry standard for professional portraits because it nails this balance.
A word of caution: shooting wider than f/1.4 (like f/1.2) creates such a razor-thin depth of field that if your subject turns their head even slightly, one eye goes soft. For beginners, stay at f/2.0 or above.
Focal length: Why 85mm to 135mm flatters everyone
Lenses in the 85mm to 135mm range (full-frame equivalent) compress facial features in a way that's naturally flattering. Noses don't protrude. Ears don't recede. Proportions look balanced and true to life.
Wide-angle lenses under 35mm do the opposite. They exaggerate depth, making noses appear disproportionately large and faces unnaturally round. This is the single biggest reason phone selfies look unflattering: most smartphone primary cameras sit around 24mm equivalent.
Shutter speed and ISO
For static portrait shooting, 1/125s to 1/250s freezes any micro-movement, whether that's a slight head shift or your own hand tremor. If you're using a tripod (and you should be), 1/125s works perfectly in most lighting.
Keep ISO between 100 and 400 whenever possible to avoid grain. Modern mirrorless sensors handle ISO 800 to 1600 cleanly in 2026, and AI noise reduction in apps like Lightroom has made higher ISOs far more usable than even two years ago.
Your headshot settings cheat sheet
Indoors in natural window light: ISO 200, f/2.0, 1/125s, 85mm equivalent.
Outdoors in open shade: ISO 100, f/2.8, 1/250s, 85mm equivalent.
Start from those and adjust. They'll get you 80% of the way to a professional result.
The $150 gear kit that transforms any room into a headshot studio
You don't need thousands of dollars in equipment. These five items, totaling around $150, will handle 90% of what professional studio gear does.
A collapsible 5-in-1 reflector at $20 to $30 eliminates most unflattering shadows on its own. Use the white side opposite a window to bounce soft fill onto the shadowed side of your face, and the silver side outdoors for punchier fill. On a zero budget, a white foam core board from a craft store works surprisingly well.
A clip-on 2x telephoto lens for phones runs $15 to $40 and brings your camera closer to the 85mm sweet spot, cutting the wide-angle distortion that ruins most phone portraits.
A Bluetooth remote shutter trigger costs $10 to $20 and removes camera shake, but the bigger benefit is that self-shooters can pose naturally instead of sprinting back after hitting the timer. Apple's Action Button and hands-free timer do the same job for free.
A portable LED panel at $40 to $80 covers indoor and low-light situations with no usable window. At 45 degrees you get Rembrandt lighting with depth; straight-on gives you the flat even light common in LinkedIn headshots.
A background solution runs $30 to $60, though a clean wall works too. Soft neutrals like light grey, warm white or sage green photograph most professionally and suit every skin tone.
The post-shoot workflow: From raw file to polished professional headshot
Step 1: Culling and selection
Pull your images into Lightroom or your preferred viewer and identify 3 to 5 hero shots. Check sharpness at 100% zoom, specifically on the eyes. In a headshot, the eyes carry everything. Soft focus here undermines the entire image, no matter how good the expression is.
Resist the trap of picking the shot where you look "happiest" if the technical quality is poor. A technically sharp photo with a natural expression beats a blurry photo with a big grin every time.
Step 2: Base editing
In Lightroom or Snapseed, make these core adjustments: exposure correction, white balance tuning (skin tones should look neutral and warm, not orange or grey), a slight contrast lift for dimension, and lens profile correction to counter any remaining distortion.
For LinkedIn specifically, ATX Headshots recommends your face should fill 60% to 70% of the frame for maximum visibility in search results and comment thumbnails.
Step 3: Skin retouching (less is more)
The goal is to look like yourself on a great day, not a smoothed-out avatar. Use the healing brush for temporary blemishes only. Avoid aggressive smoothing that removes all skin texture. People notice when a headshot looks artificially processed, and it undermines trust.
Step 4: AI enhancement with Starkie AI
Once you have a well-lit, properly framed photo, Starkie AI handles the last mile: it takes the strong input and generates polished variations with consistent professional backgrounds and refined lighting.
The better the input, the better the output. Every setting, lens and technique above is ultimately about giving the model the best raw material you can hand it.
Case study: One subject, three budget tiers
Sarah is a marketing manager updating her LinkedIn profile. We photographed her three ways.
The first tier cost $15. Sarah used her own iPhone 16 Pro set to Portrait Mode at 3x zoom. She sat perpendicular to a large north-facing window, with a clean white wall behind her. A $15 Bluetooth remote trigger let her fire the shutter from a natural, relaxed position. The result: a clean, well-lit headshot with pleasant background blur.
The second tier came to roughly $850: a used Sony a6400 at around $500 paired with the Sigma 56mm f/1.4 at around $450, one continuous LED panel with a 24-inch softbox ($150), and a collapsible gray backdrop ($40). The images were noticeably sharper than the phone's computationally generated bokeh, with precise eye-tracking autofocus and richer color depth.
The third tier cost about $250 as a rental: a Sony a7R V with the Sony 85mm f/1.4 GM, a two-light strobe setup with a 48-inch octabox and beauty dish, and seamless paper backdrop. The final images were 8x10 print-ready, with extraordinary detail and dynamic range.
For Sarah's LinkedIn profile, company bio and email signature, the first two tiers were entirely sufficient. The Tier 3 images justified themselves only for large-format printing or publication in major media. For 90% of professional use cases, the first two tiers deliver everything you need.
Which raises an interesting question: what if even Tier 1 feels like more effort than necessary?
When AI headshot generators make more sense than buying any gear
In a few situations, buying gear is impractical or beside the point. Job seekers who need a professional LinkedIn photo by tomorrow. Remote teams across 20 countries who need a consistent company page and cannot coordinate 50 separate photographers. People who dislike being photographed and still need a polished image. And professionals who want several styles, casual and corporate and author photo, without paying for three sessions and three wardrobe changes.
AI headshot generators like Starkie AI have matured considerably. The process in 2026 is straightforward: you upload 10 to 20 casual selfies taken from different angles and lighting conditions. The AI analyzes your likeness and generates studio-quality portrait images, placing you into photorealistic settings with professional lighting. These aren't filtered selfies. They're reconstructed portraits built from your actual facial features.
The cost math is hard to argue with. Even the most affordable Tier 1 gear setup runs about $100 to $300, plus your time learning to use it and set up the shot. An AI headshot service like Starkie AI typically costs $15 to $30 as a one-time fee. For someone who needs one or two headshots per year, the return on investment clearly favors AI.
What about authenticity? It's a fair question. For acting headshots or C-suite profiles at companies where a traditional photo session is expected, authentic photography still matters. But for the vast majority of professional contexts, where a polished, well-lit image simply needs to represent you credibly, AI output in 2026 meets the bar comfortably.
Before you invest in any of the gear in this guide, it's worth seeing what Starkie AI can produce from photos you already have on your phone. You might discover you don't need a camera at all.
Light and focal length over spec sheets
Whether you're shooting with a $2,400 Sony kit, an $850 Fujifilm setup or the phone in your pocket, the principles hold. Focal length, light quality and subject direction matter more than any spec sheet.
For one LinkedIn headshot, your phone and a window are enough. If you shoot headshots regularly or for clients, a mid-range APS-C body with a 56mm f/1.4 and one off-camera light is the sweet spot. If you're building a portrait business, full-frame glass and studio strobes pay for themselves through volume.
Professional headshot quality is genuinely accessible at every budget level in 2026, including zero if you hand the work to a tool like Starkie AI. Pick your tier and go get the shot.