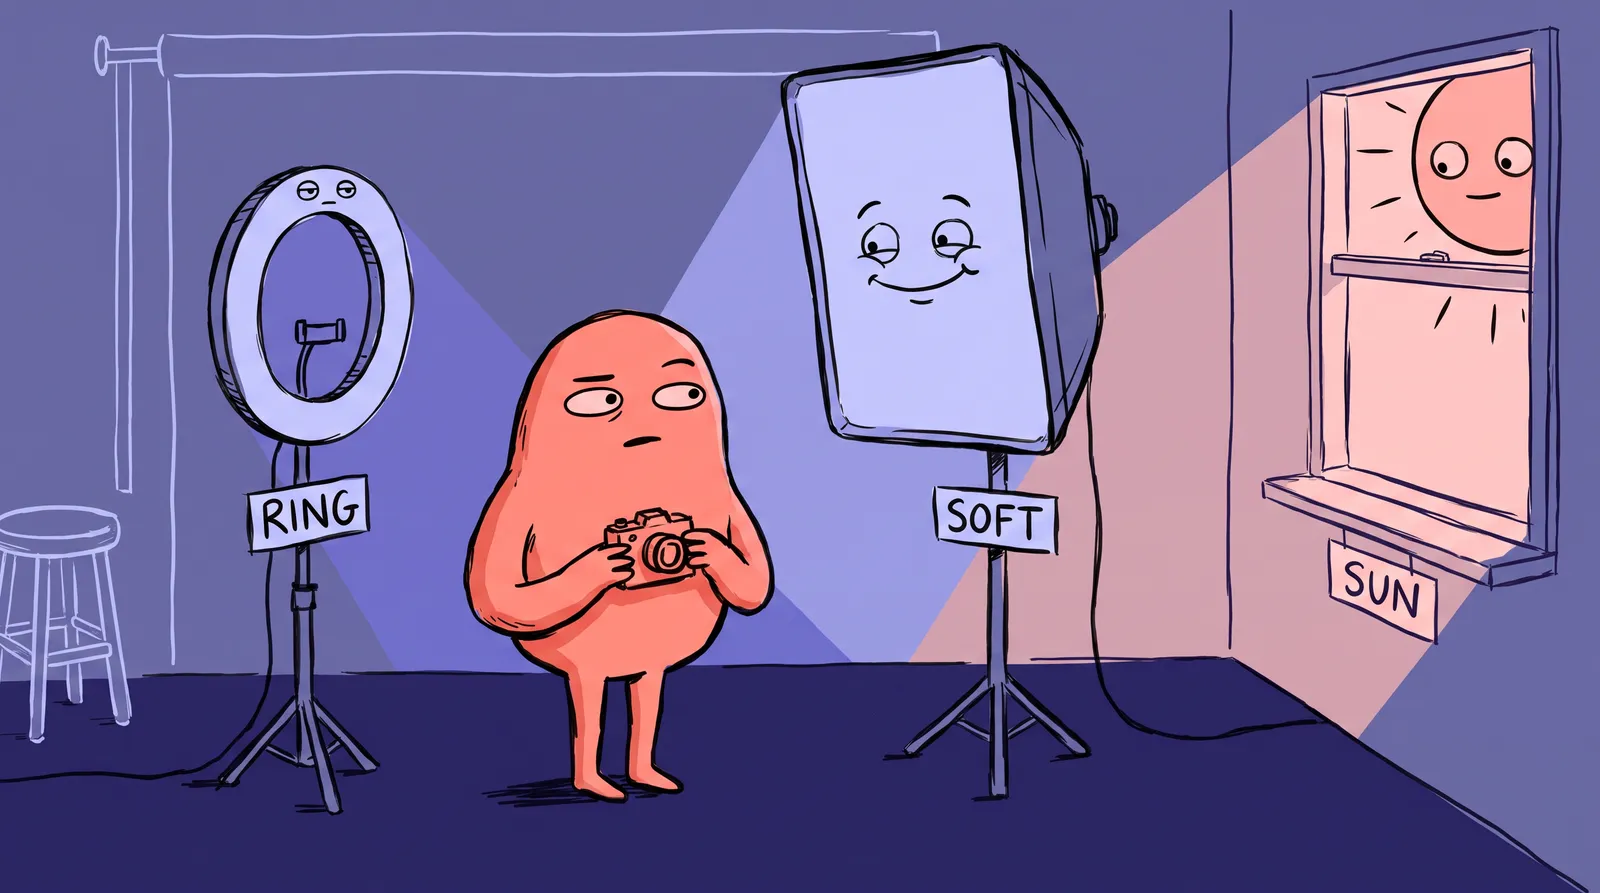
The most expensive studio lighting rigs on the planet are all trying to copy something you already own for free. A window.
Think about it. Softboxes, diffusion panels, umbrellas, and the giant "book lights" cinematographers wheel around a set are just elaborate machines built to mimic soft, directional daylight pouring through a pane of glass. Vermeer figured this out in the 1600s. Early Hollywood portrait studios leaned on skylights and north-facing windows long before electric strobes existed. The light was always the point.
Which raises the possibility that the reason your selfies and home portraits look slightly off has nothing to do with your camera or your face, and everything to do with where you're standing relative to your window.
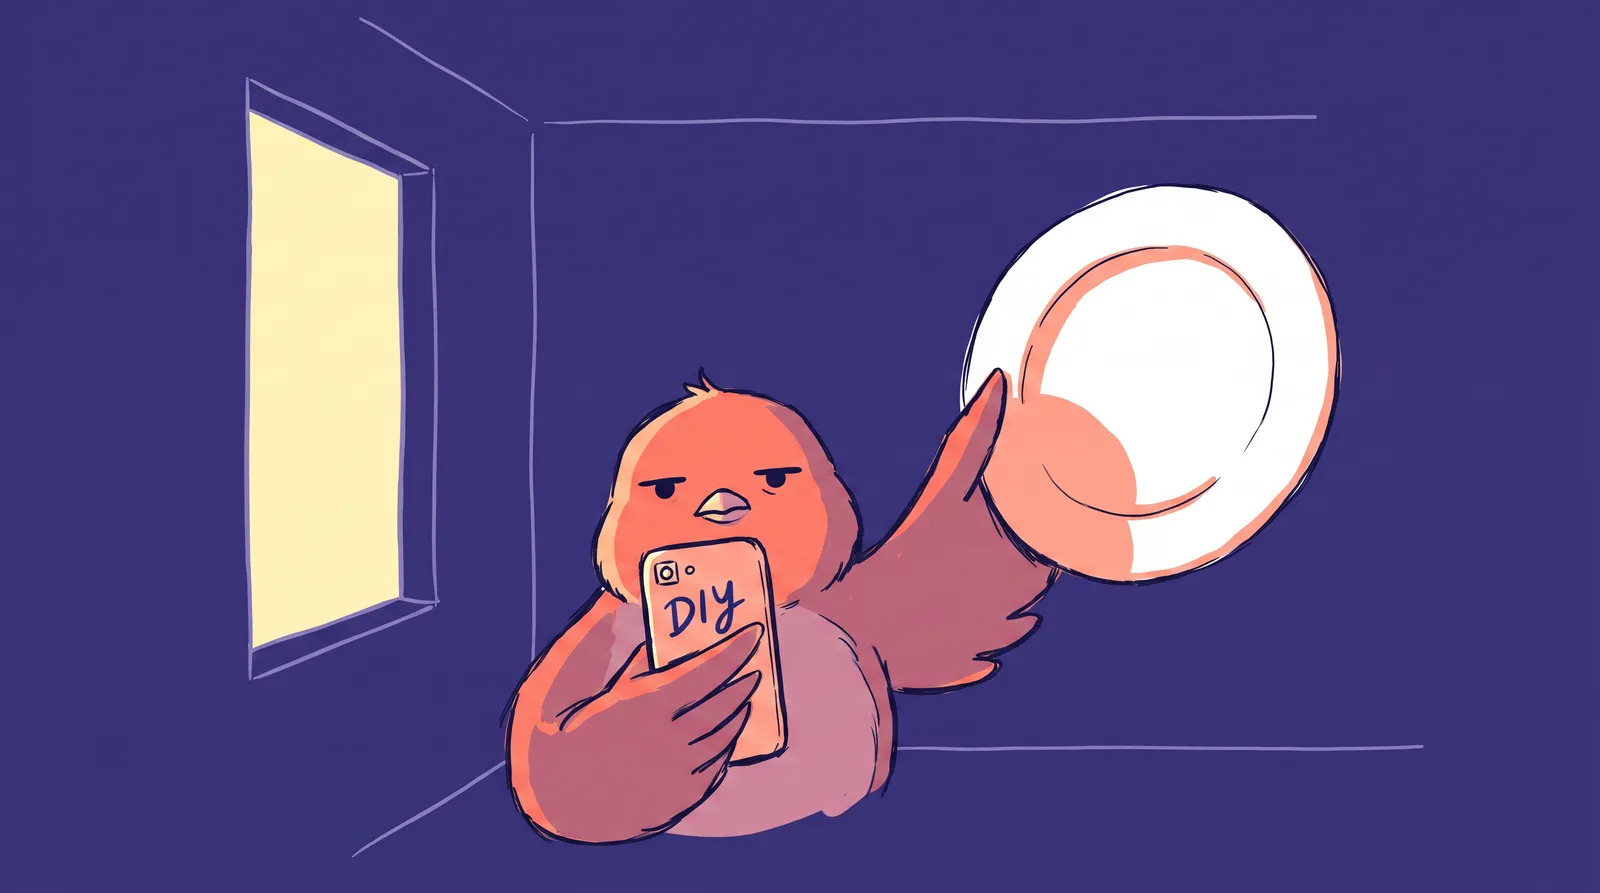
You've probably bought a ring light, maybe a phone gimbal or one of those clip-on LED panels, and the results still came out flat and a little sickly, lit from somewhere strange. What fixes it is almost no gear at all: a window, a $2 piece of foam board, and a different way of looking at the rooms you already live in.
The science of window light (without the physics degree)
Window light flatters people because it's big and soft. That's the whole secret. The larger a light source is relative to your face, the softer the shadows and the smoother the transition from bright to dark across your skin. A window is enormous compared to your head, so it wraps light around your features instead of stamping hard-edged shadows onto them.
Four things change how that light behaves: the time of day, which way the window faces, the weather outside, and how far you stand from the glass.
That last one is the most underestimated variable, thanks to the inverse square law. Light intensity drops off fast near a window, then flattens out the farther you go. As the Westcott lighting guides explain for photographers, moving from 3 feet to 6 feet away can cut the light hitting your face by roughly 75%, a two-stop loss. In plain terms: stand close (2 to 3 feet) for moody, dramatic contrast, or step back (6 to 8 feet) for soft, even light with gentle shadows.
Window direction sets the mood.
North-facing windows are the gold standard. They give consistent, cool, shadowless daylight around 5500K to 6500K all day, with no direct sun barging in. Portrait photographers fight over studios with north light for exactly this reason.
East-facing windows deliver warm, directional morning light that goes cool and flat by noon. Good for a quick morning shoot, provided you schedule around it. In August 2026 sunrise lands around 6:15 AM in much of the Northern Hemisphere, so early is the whole game.
South- and west-facing windows blast harsh direct sun through midday and late afternoon. That light only softens when clouds roll in or when you diffuse it yourself. Tape a white bed sheet over the glass as a scrim and the brutal beam turns into a giant softbox.

Classic portrait lighting patterns you can recreate at home
Lighting patterns are the vocabulary of portrait photography. Learn three of them and your photos jump from "phone snapshot" to "someone knew what they were doing." All you do is change the angle between your face and the window.
Rembrandt lighting is the moody, character-rich one. Turn about 45 degrees from the window and step slightly back from the sill. Look for a small triangle of light on the shadowed cheek, sitting just under the eye. Fine art portrait photographer Paulina Duczman describes it well: position the key light to the side at 45 degrees and the shadows connect under the cheek and nose to form Rembrandt's triangle, delivering drama and three-dimensional volume. The triangle shouldn't be wider than the eye or longer than the nose.
Split lighting is the bold, editorial one. Turn a full 90 degrees so the window is directly to your side. Exactly half your face lights up and the other half falls into shadow. It's dramatic and confident, perfect for a creative LinkedIn profile or brand photography where you want to stand out.
Butterfly lighting, sometimes called Paramount lighting, is old-school Hollywood glamour. Face the window straight on, with the light coming from slightly above eye level. You get a small butterfly-shaped shadow right under the nose, and it flatters cheekbones beautifully. This is the classic professional headshot look.
Loop lighting is the forgiving one, and the best place to start. Turn about 30 degrees from the window. A small nose shadow "loops" down toward the corner of your mouth without connecting to the cheek shadow. It's universally flattering and hard to mess up, which makes it ideal if you're shooting your own headshot.
The $0 to $20 reflector setup that changes everything
A reflector is a free second light. It doesn't glow on its own. It just catches window light and bounces it back into the shadow side of your face, softening harsh contrast and filling in dark eye sockets.
The free option is a large sheet of white foam board, the kind you can grab at Dollar Tree, Target or Staples for $1.25 to $3. Prop it on a chair opposite the window, on your shadow side. Slide it closer and the shadows fill in for a clean, corporate look (roughly a 1:2 contrast ratio when it's about 2 feet from your face). Slide it farther away, around 4 to 5 feet, and you keep more shadow for a sculpted, moody result (closer to 1:4). White foam bounces neutral daylight without shifting the color, so your skin tone stays honest.
If you want a small upgrade, a 5-in-1 collapsible reflector like the Neewer 43-inch runs $15 to $25 and folds down small. White gives you neutral soft fill. Silver adds punch and contrast, roughly a stop brighter than white. Gold adds warmth, which is lovely on a golden-hour west-facing shot. Black is negative fill, deepening shadows for something more dramatic. And the translucent surface goes in front of harsh direct sun as a diffuser.
Positioning is simple. Place the reflector on the opposite side from the window, at about face height, angled up around 15 to 20 degrees so it throws light back into your eye sockets and under your chin. Too far away and it does nothing. Too close at the wrong angle and you get creepy underlighting, the flashlight-under-the-chin horror-movie effect. Run the squint test: glance at the shadow side of your face and squint. If the shadows lift and your eyes brighten as you adjust the board, it's working.

Room by room: finding your best shot in any home
Every home has at least one window worth shooting near. Here is how to find it.
The living room usually has your biggest windows, sometimes patio sliders. Figure out whether they face north or east so you can time your shoot. Pull the couch away from the wall, at least 5 feet, so you aren't competing with a cluttered background. A plain wall or a softly blurred bookshelf makes a clean backdrop.
The home office or bedroom often has smaller windows, but that's fine for tight headshots. Use an adjustable desk chair to line up your face with the middle of the window. If the background is messy, hang a steam-ironed neutral sheet, light gray or beige, behind the chair for an instant seamless backdrop.
The kitchen is the sleeper pick. That window over the sink is frequently north-facing and produces gorgeous soft light. Clean tile or plain cabinetry doubles as a modern backdrop, which content creators love.
Doorways and hallways hide a trick. An open exterior door acts like a giant softbox. Stand just inside the threshold and you catch wraparound light that's genuinely hard to replicate indoors. On an overcast August morning in 2026, this is one of the best free setups going.
And then there's the nothing-works-in-my-apartment situation. Every window faces a brick wall, or gets blasted with harsh sun, or looks into your neighbor's kitchen. Try sheer curtains for diffusion, or shoot at dusk when indoor and outdoor light balance out. And if the light truly won't cooperate, that's exactly when AI headshot tools become the practical modern shortcut.
Case study: one photographer's $0 home studio transformation
Meet Jordan, a remote worker in 2026 whose LinkedIn photo is a cropped, harshly lit bathroom selfie. In a year when first impressions happen digitally before they ever happen in person, that photo is doing real damage. Research from Princeton found people form snap judgments about competence and trust within 100 milliseconds of seeing a face. And 86% of recruiters spend 30 seconds or less on an initial LinkedIn screen. Jordan's selfie is losing the game before Jordan says a word.
First, the audit. Jordan finds the largest window, an east-facing one in the bedroom, and maps the best light to 7:00 to 9:00 AM on clear mornings.
Then the setup. A dining chair goes 3 to 4 feet from the window at a 45-degree angle for Rembrandt lighting. A $2 foam board leans on a laundry hamper on the shadow side. The phone sits on a small tripod (or a stack of hardcovers) at eye level, set to 2x optical zoom.
Then wardrobe and background. A solid navy or charcoal top. A plain wall in frame. The overhead 2700K ceiling light stays off. It fights the cool window light and muddies everything.
The result looks professionally lit. Honestly though, there's a gap the light alone can't close. Posing, expression, and light retouching still take practice, and that's the part nobody nails on the first try. Which matters, because a strong profile photo can earn 14 to 21 times more profile views and 36 times more messages, while 71% of recruiters admit they've rejected a qualified candidate over a bad picture.
The 7 mistakes that make DIY portraits look amateur
Mixing light sources is the first. Window daylight is cool at about 5600K and household LEDs are warm at about 2700K. Put both in the frame and your camera's white balance gives up, leaving blue skin or an orange cast. Turn off every artificial light in the room and let daylight do all of it.
Standing flat against the wall is the second, and it gives you passport-photo lighting plus ugly wall shadows. Pull 4 to 6 feet off the background so it falls into soft blur.
Getting the distance from the window wrong is third. Too close blows out your bright side; too far leaves you gray and directionless. Start at 3 feet, then move back if the shadows feel flat or step in if they feel harsh.
Shooting from below eye level is fourth, and it is unflattering without exception. Keep the camera at or slightly above your eyes.
Ignoring the season is fifth. In August 2026 the Northern Hemisphere sun sits high and strong, so west-facing windows throw brutal afternoon light that needs heavy diffusion. The same window in November behaves completely differently.
Digital zoom is sixth. It crops in and kills resolution, and the default 1x phone lens distorts noses and ears at close range. Step back six feet and use 2x or 3x optical zoom, roughly a 50mm to 85mm equivalent.
Skipping the catchlight check is last. Catchlights are the tiny window reflections in the eyes, and they're what makes a portrait feel alive. If they're missing, you've turned too far from the light. Turn back until you see them.

Seasonal tips for 2026: adapting your setup through the year
Light changes all year, so your setup should too.
August 2026, right now, brings long days and a high sun. Golden hour arrives late, around 7:30 to 8:00 PM in many Northern Hemisphere areas, which makes evening west-facing windows surprisingly usable for warm, glowing portraits. Morning east-facing shoots should wrap by 9:00 AM before direct sun hits the glass and turns harsh.
From September through November the sun drops lower, so light reaches deeper into your rooms at an angle. Shadows grow longer and more directional even through north-facing windows. That's a free gift for Rembrandt and split lighting, no extra diffusers required.
Through the winter of 2026 into 2027, shorter days mean the soft golden-hour quality lasts longer through the morning and afternoon. South-facing windows that were unusable in summer become your best option in December.
One practical planning tip: use a free sun-tracking app like Sun Surveyor or PhotoPills to map exactly when and where light hits each window in your home. Ten minutes of planning saves hours of frustrating test shots.
Your best light was home all along
The best portrait light in the world has been sitting in your home the whole time, waiting for you to use it deliberately.
The method is short enough to remember. Learn how your window behaves through the day, pick a lighting pattern (start with loop, graduate to Rembrandt), and use a reflector to control the shadows.
Even with perfect light, though, good portraits still take practice and a decent eye for expression and posing, and those take real time to build. There's no shortcut around that learning curve if you're doing all of it yourself.
That's the gap tools like Starkie AI are built to close. If you need a polished headshot now, for a LinkedIn refresh, a job application, or a new business launch in 2026, AI can handle the posing, lighting, and retouching that normally take years to master. Whether you set up the window-and-foam-board rig or let AI do the heavy lifting, you no longer need an expensive studio for a great headshot.