Studies show that 73% of people form their first impression of a professional within seven seconds of seeing their headshot. Seven seconds. Yet most portrait photographers agree that the difference between a "good" headshot and one that stops someone mid-scroll often comes down to just three overlooked camera settings.
A wedding photographer I know spent years painstakingly correcting skin tones in Lightroom after every session. Warm shifts, green casts, inconsistent color from frame to frame. She'd burn hours per wedding tweaking sliders. The culprit? Her white balance had been set to Auto the entire time.
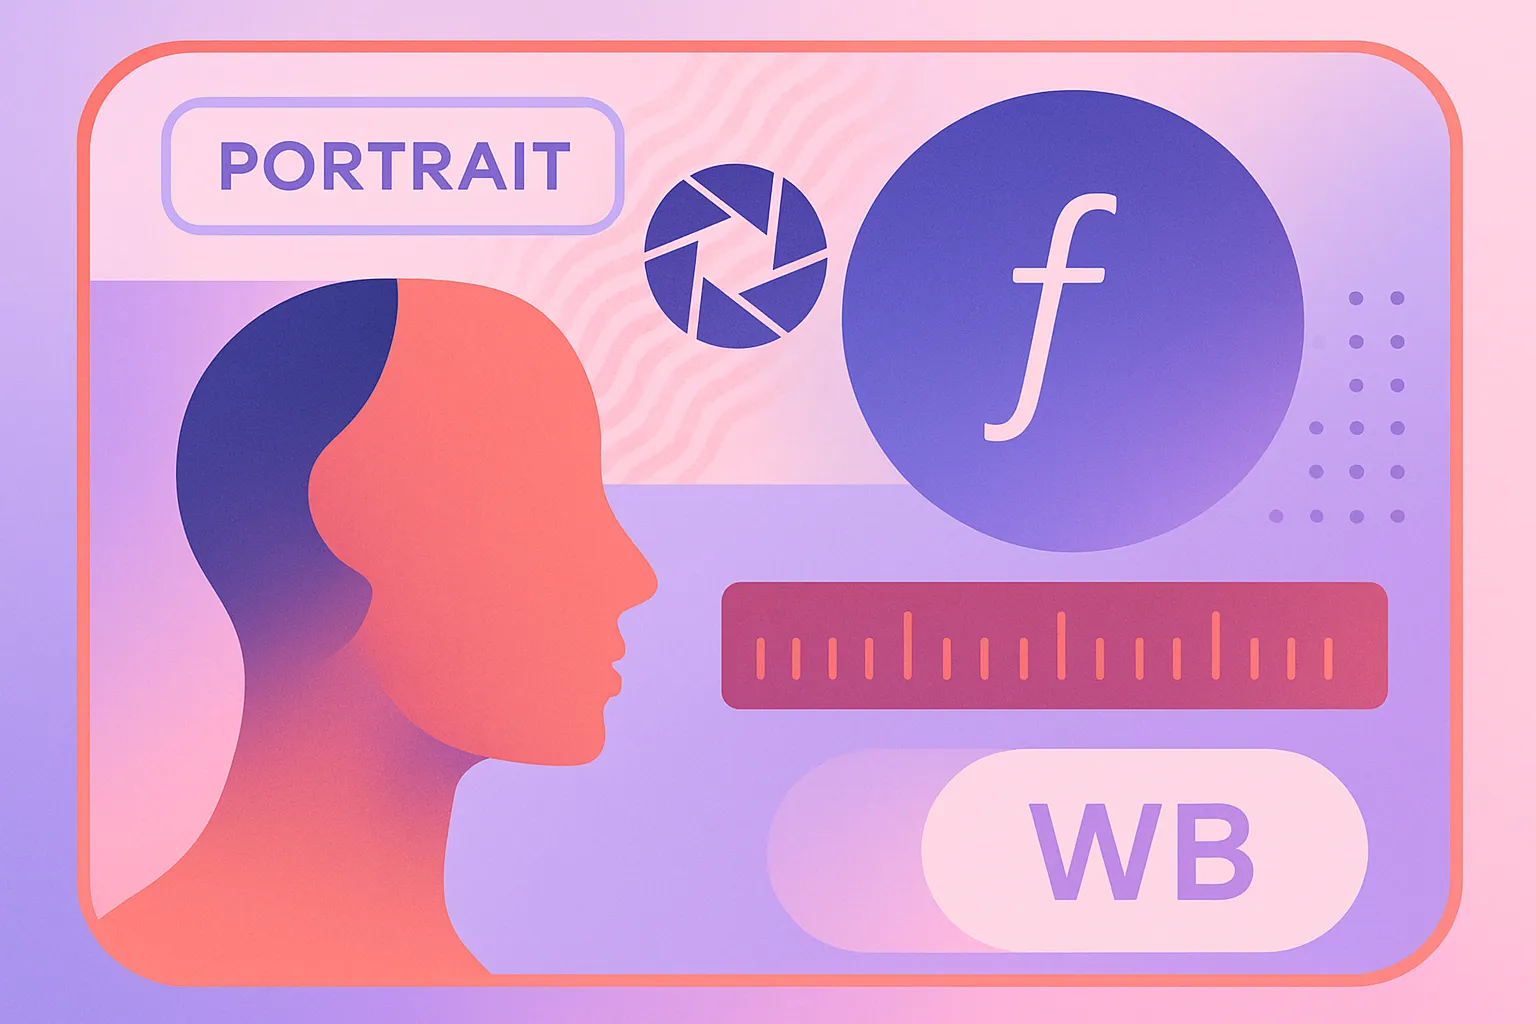
What follows is the focal length, aperture and white balance that working portrait photographers set before they press the shutter, so the skin tones come out of the camera right. It applies equally to professional headshots for LinkedIn and creative portraits for a client portfolio.
If you'd rather skip the gear and the learning curve entirely, tools like Starkie AI now produce results that rival these manual techniques. Understanding why the settings work will make you better behind a camera either way.
Focal length: Why 85mm is the portrait king (and when to break the rule)
Focal length doesn't just change how much of the scene you capture. It fundamentally changes the shape of your subject's face.
Here's why: to keep a person's head the same size in the frame, you have to move closer with a wide-angle lens and farther away with a telephoto. That change in distance creates perspective distortion. Wide-angle lenses exaggerate features closest to the camera, making noses look bulbous and foreheads cartoonishly large, while telephoto lenses compress and flatten features naturally.
At 24mm you get the funhouse mirror effect: oversized noses, shrunken ears, unflattering on almost everyone. At 50mm you're close to the human eye's perspective, with slight distortion still showing on tight headshots. At 85mm the proportions look natural with no noticeable distortion, which is why it's the default. At 135mm you get strong compression and a subtle slimming effect.

The 85mm sweet spot
Most portrait pros default to 85mm (typically f/1.4 or f/1.8) because it hits a triple sweet spot. The angle of view is approximately 28.3 degrees on a full-frame sensor, providing natural-looking compression, beautiful background separation, and a comfortable working distance of about 6 to 8 feet. That last point matters more than you'd think: subjects feel relaxed when you're not shoving a lens in their face.
Popular choices in 2026 include the Sigma Art 85mm f/1.4 DG HSM and the Sony 85mm f/1.4 G Master II, both praised by professionals for their color rendering and background blur quality.
The 50mm case
Small studio? Office headshot setup? The 50mm becomes your practical workhorse. You'll notice a subtle difference in facial rendering compared to 85mm, but stepping back slightly compensates. The 50mm also shines for environmental portraits where you want to include some context around your subject.
The 135mm argument
Editorial and beauty photographers love the 135mm for maximum facial compression and dreamy bokeh. The trade-off: you need 12+ feet of shooting distance, which makes it ideal for outdoor headshots but impractical in tight indoor spaces.
Aperture: The depth-of-field sweet spot that flatters without losing sharpness
The most common mistake new portrait photographers make is shooting wide open at f/1.4 for everything.
It sounds logical. Wider aperture means creamier bokeh, right? Sure. But at f/1.4 on an 85mm lens, the depth of field is razor-thin, sometimes as little as one inch at headshot distances. One eye can be tack-sharp while the other goes soft. Ears? Always blurred. It might look "artistic," but it won't look professional.
The professional sweet spot: f/2.0 to f/2.8
This range gives you enough background blur to separate the subject from the environment while keeping both eyes and the full face sharp.
Renowned headshot photographer Peter Hurley has spoken extensively about this. He settled on f/3.2 as his personal sweet spot after testing, finding f/2.8 gave too little depth and f/4 gave too much. For continuous lights, he recommends f/4 to f/4.5. Other professionals like Vanessa Joy prefer f/2.5 for headshots, achieving a soft bokeh while keeping the eyes precisely in focus.
When to stop down further
Group headshots want f/4 to f/5.6, so multiple faces at slightly different distances all stay sharp. Environmental portraits want f/4 to f/8, where the location is part of the story. Corporate team pages want f/4 to f/5.6 for consistency across dozens of employees.
The "wider is always better" myth
Lens optical quality typically peaks one to two stops down from maximum aperture, which many photographers overlook. That means f/2.8 on an f/1.4 lens delivers sharper, more contrasty results than shooting wide open. You're not just gaining depth of field; you're getting a better-performing lens.
A practical starting baseline for indoor natural-light portraits: f/2.8, 1/160s, ISO 400. Adjust from there.
White balance: The most overlooked setting for accurate skin tones
If focal length shapes the face and aperture controls sharpness, white balance controls color. And it's the setting most hobbyists never touch.
Why auto white balance fails for portraits
Auto White Balance (AWB) shifts color temperature frame-to-frame based on surrounding colors in the scene. A brightly colored shirt, a painted wall, or a shift in your subject's pose can all trick the camera into choosing a different temperature. The result: skin that looks warm in one frame and sickly green in the next. Across a full session, this creates a post-processing nightmare.
Custom Kelvin settings for common portrait scenarios
A fixed Kelvin value gives you predictable, repeatable results. Outdoors in daylight, 5200K to 5500K. Under tungsten or warm indoor light, 3800K to 4200K, dropping to 3000K to 3500K for very warm incandescents. In overcast or shade, 6000K to 6500K. With studio strobes, 5500K to 5600K, which matches most modern flash units.

Skin tones across different ethnicities
This matters more than most photography guides admit. Deeper skin tones are more susceptible to color casts, and a green or magenta shift that's nearly invisible on lighter skin is obvious on darker complexions. Use a gray card or a Calibrite ColorChecker Passport Photo 2 to take a custom white balance reference at the start of every session. This gives you a neutral baseline that ensures accurate skin rendering for every subject.
Shoot RAW, not JPEG
Even with perfect white balance, shooting RAW preserves the full color data and allows non-destructive white balance adjustments in post. JPEG bakes in the white balance permanently, discarding color information you can never recover. If you take one technical upgrade away from this article, make it this one.
Metering modes: How to prevent blown highlights on faces
You've nailed focal length, aperture, and white balance. But if your exposure is off, none of it matters. And your camera's default metering mode is working against you.
The problem with matrix/evaluative metering
Matrix metering averages the entire scene, which often overexposes faces when the background is darker (think indoor portraits) or underexposes faces with backlighting. The camera doesn't know your subject's face is the most important part of the frame.
Spot metering on the cheek
Switch to spot metering and take the reading from the brightest part of the subject's cheek. Then dial exposure compensation to -0.3 to -0.7 EV. This preserves highlight detail in the skin, which is nearly impossible to recover once it's blown out. Some pros report using spot metering at least 90% of the time for portraits.
Center-weighted as a middle ground
Center-weighted metering works well for standard headshots where the face fills the center of the frame. It's less precise than spot metering but more forgiving if you slightly reframe between shots.
Expose to the right (ETTR)
Slightly overexposing, while keeping highlights intact, captures more shadow detail and reduces noise in skin tones. Check your histogram after each shot; the skin tone data should sit in the right third without clipping. You end up with smoother files and less noise in the shadows.
Putting it all together: A real-world headshot settings walkthrough
Say you're shooting an indoor corporate headshot next to a large window, with an 85mm f/1.8 lens and the camera in manual mode.
Set the aperture to f/2.8 for full-face sharpness with pleasing background separation. Shutter speed at 1/160s to freeze any micro-movement. ISO 400, which produces negligible noise on modern full-frame mirrorless sensors like the Sony A7IV or Nikon Z5II. White balance at 5000K for the mixed daylight through the window. And spot metering on the subject's cheek with -0.3 EV compensation.

Adjustments for common variables
Moving outdoors in daylight, drop ISO to 100, raise shutter speed to 1/500s or faster, keep the aperture at f/2.8 and set white balance to 5500K.
Switching to studio strobes, use ISO 100, 1/200s for flash sync, f/4 to f/5.6, and 5600K.
Shooting a lifestyle portrait in a dim restaurant, open up to f/2.0, push ISO to 800 or 1600, and set white balance to 3800K to match the warm ambient light.
The free cheat sheet is a one-page PDF covering focal lengths, aperture ranges, Kelvin presets and metering tips across six scenarios: outdoor daylight, window light, studio strobe, overcast, golden hour and indoor ambient.
When good enough isn't worth the effort: The AI headshot alternative
Mastering all of these settings takes practice, time and real money on gear. A quality portrait lens and camera body together run $1,500 to $3,000 or more. A single 85mm f/1.4 lens can cost over $1,000 by itself. Not everyone needs to become a portrait photographer to get a great headshot.
AI headshot generators like Starkie AI can now produce studio-quality professional headshots from casual selfies, with natural skin tones, flattering lighting, and soft background blur that would traditionally require all the settings knowledge covered in this article. According to recent surveys, 68% of professionals couldn't distinguish between high-quality AI headshots and traditional photography when both were optimized for professional use.
The cost difference is significant. A traditional headshot session runs $150 to $500+ for a single look with days-to-weeks turnaround. An AI headshot generator typically costs $15 to $59 for 100+ professional variations, delivered in under two hours.
That math works best for remote workers who need a LinkedIn photo quickly, companies onboarding dozens of employees onto a consistent team page, and anyone who wants several professional looks without booking a photographer.
If you're a photographer, these tools are worth recommending to clients who need something between sessions, or as a complement to your portfolio work.
Try Starkie AI and compare the output against traditional studio results.
The settings that separate good from great
The difference between an amateur portrait and a professional one often isn't talent or expensive gear. It's knowing which settings to dial in before the shoot begins.
The short version: default to 85mm for flattering facial compression, 50mm in tight spaces, 135mm for outdoor editorial work. Shoot f/2.0 to f/2.8 for the sharpness-and-bokeh sweet spot on headshots, stopping down to f/4 or beyond for groups. Lock in a custom Kelvin value for your lighting rather than trusting Auto through a professional session. And spot meter on the cheek to protect skin highlights, because they're nearly impossible to recover in post.
The cheat sheet keeps all of that at hand during your next shoot.
Whether you get there behind a camera or through a tool like Starkie AI, the job is the same: making people look their best.