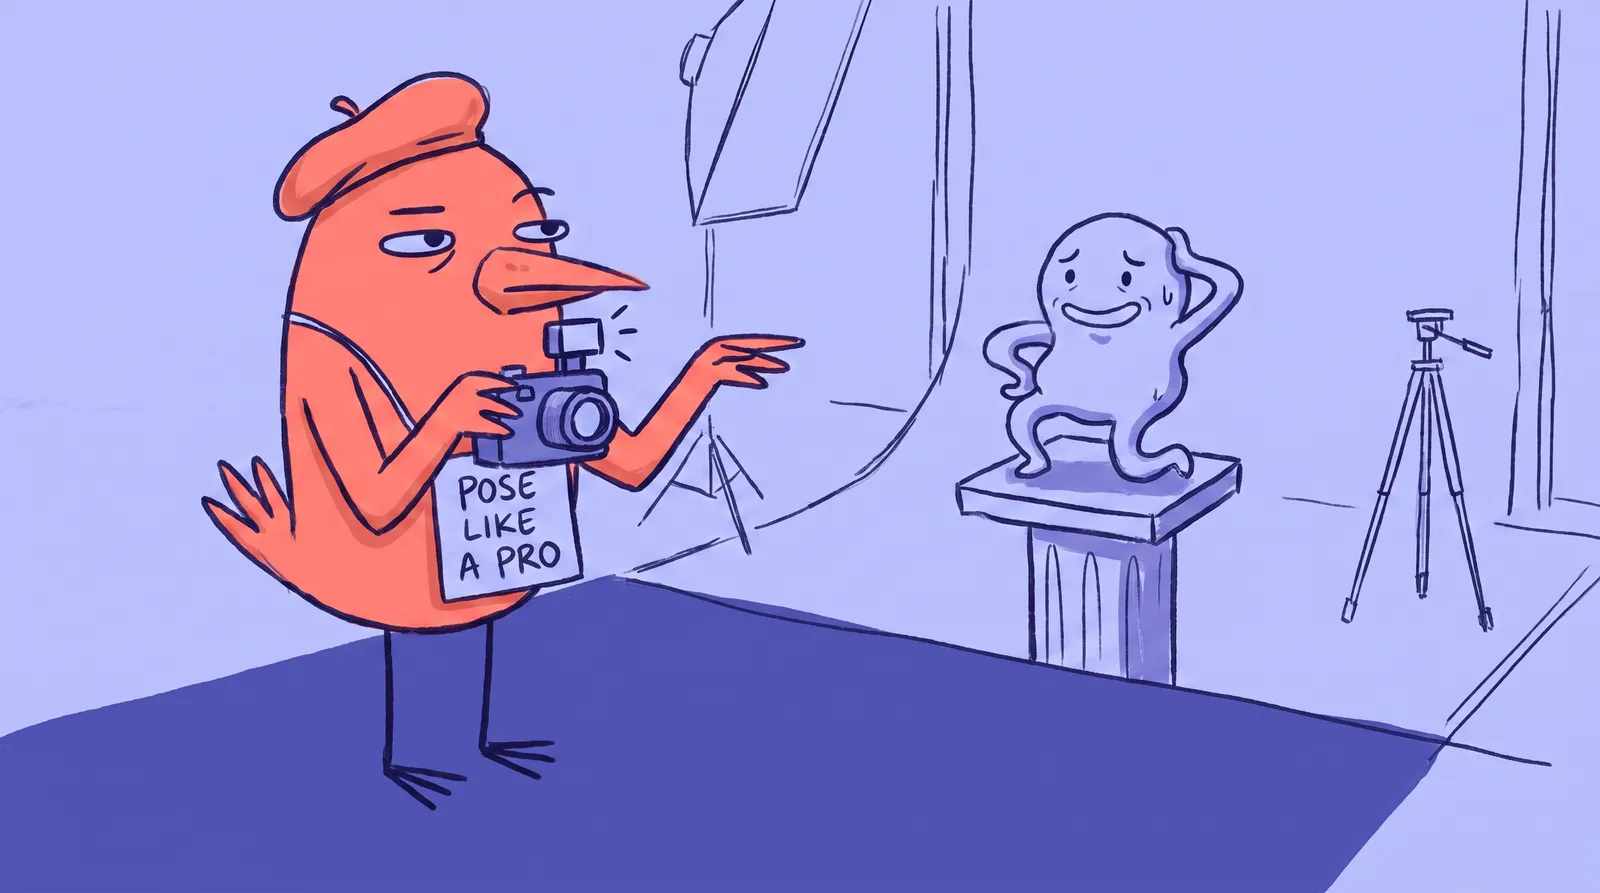
A client walks into your studio. Shoulders locked. Arms crossed like a nightclub bouncer. Jaw so tight you could bounce a quarter off it. You lift the camera, and in that half-second you realize something uncomfortable: the lighting is perfect, the lens is sharp, and none of it matters. Because the person in front of you looks terrified.
Most photographers figure this out too late. Great headshots don't fail because of gear. They fail in the space between "stand here" and a genuine expression. That gap is where the whole shoot lives or dies.
The stakes are higher than they feel. Research from Princeton University found that people form lasting judgments about competence, trustworthiness, and likability within 100 milliseconds of seeing a face. One-tenth of a second. Longer looks don't change that first read; they just make people more confident in it. A professional headshot is often the very first "face" someone meets on LinkedIn, a company site, or a pitch deck. You get one shot at that tenth of a second.
Posing is learnable, though, and systematic: part body mechanics, part psychology, part knowing what to say. What follows covers the whole process, from calming a nervous client down to chasing the decisive expression. The principles hold whether you're a working photographer, a founder shooting yourself, or someone testing AI headshot tools like Starkie AI.
Why posing is the most underrated skill in headshot photography
Kill the gear myth first. A mid-range mirrorless body like a Canon EOS R8 or Sony A7 IV, paired with an 85mm prime and deliberate direction, will beat a $10,000 flagship setup pointed at a stiff, unguided subject every time. Same person, same light, two poses. One looks like a passport photo. The other looks like someone you'd want to hire. The only variable that changed was direction.
A headshot rests on three things. There's the technical work, meaning lighting, exposure and focus. There's the body mechanics: shoulder angle, neck extension, whether the pose suits the face shape. And there's expression coaching, which covers eye engagement, micro-expressions and genuine warmth.
The technical work gives you image quality and the expression gives you emotion, but posing is the hinge between them. An authentic smile looks awkward on a hunched body, and beautiful studio light only draws attention to bad posture.
There's a neurological angle here too. A slouched spine or a tucked chin subconsciously signals low confidence to viewers. Tiny physical shifts create outsized emotional reads. That's why the golden rule in headshot mechanics is "feels weird, looks good." A pose that feels exaggerated to your subject translates perfectly on a flat sensor.

Peter Hurley, founder of the Headshot Crew, put it plainly when he described his early frustration: "I saw blank, lifeless images with absolutely no juice coming towards the camera... I couldn't leave it up to my clients to do it on their own." That's the mindset shift. You're a director, not an operator. Your job is to actively shape a person's energy, not passively catch it.
Coaching the nervous client: how to create a relaxed environment before the first shot
Camera anxiety isn't the exception. It's the default. A survey from Saint Joseph's University found that 87% of adults don't consider themselves photogenic. Most people haven't been professionally photographed since a school picture day they'd rather forget. They arrive self-conscious before you say a word.
There's a name for the feeling: evaluation apprehension. As psychology writers at Ness Labs explain, a camera is a "cold eye." It gives no social feedback, no nods, no smiles back. Your subject's brain reads that silence as mild threat, and the jaw and neck tense up in response.
So don't start with the camera. Start with a warm-up ritual.
Start with the client walking in and no camera in your hands. Ask about their work, offer water, and name the elephant: almost nobody likes being photographed, so your job is to direct them step by step.
Then walk them past the tethered screen and explain that photos land there instantly, which makes the session a collaboration rather than a test. Tethering software like Capture One Pro handles this in real time, and recent wireless updates for cameras like the Canon EOS R5 Mark II let you roam and coach without tripping over cables.
Last, burn a test shot. Fire three fast frames before any posing, show them, and delete them together. Nothing lowers fight-or-flight faster than proving that bad shots are normal and disposable.
Language matters enormously here. Compare "Don't look so stiff" (a confidence-killer that names the problem without solving it) to directorial cues that actually produce results:
- "Picture yourself walking into a room where everyone respects you."
- "Pretend you're about to greet an old friend you haven't seen in years."
- "Give me the look you'd give someone who just said something clever."
- "Think about the best compliment you've ever received."
- "Talk to my lens like it owes you money, but in a friendly way."
Movement beats instruction. Ask clients to shake out their arms, roll their shoulders, and take one deep exhale. That physically interrupts the tension pattern in ways words can't. Then keep talking. Continuous, calm narration through every adjustment stops people from retreating into their heads and second-guessing every expression.
The micro-adjustments that make the difference: chin, shoulders, and spine
Now the mechanics. These three moves do the heavy lifting.
The chin ledge is the single most powerful adjustment in headshot photography. Cue it like this: "Push your forehead slightly forward toward the camera, then tilt down about five degrees." Photographer Ben Marcum tells every client the same thing: "take your face and push it straight forward. Think turtle." At rest, gravity pulls the tissue under the jaw back toward the neck. Pushing the face forward stretches that skin, erases double chins, and sharpens the jawline. As branded photographer John A. DeMato describes it, turtling "magically flatters the subject's face instantly, accentuating the jawline while bringing facial expressions closer to the audience."
The benefits go well beyond vanity. PhotoFeeler analyzed over 60,000 photo ratings and found that a clear shadow line outlining the jaw raised perceived competence by 0.24 and likability by 18%.
Shoulder rotation comes next. Facing straight on gives you a flat, wide passport look. Instead: "Angle your torso 15 to 30 degrees off-camera, then turn your head back to the lens." That diagonal slims the frame and adds real three-dimensional depth.
Then the spine, elongated without going rigid. "Sit up straight" produces robots. Try "think of a string pulling the crown of your head toward the ceiling." Same height, none of the stiffness.

The lean-in is subtler. A slight forward lean from the hips, not the waist, projects engagement. This one cue turns mug-shot energy into "I want to work with this person" energy.
Hands and arms don't matter in tight crops and matter enormously in three-quarter shots. Light contact with a surface or a gentle clasp works. Arms pinned to the sides, or hands jammed in pockets with thumbs poking out, do not.
Face shape, body type, and the poses that flatter both
No single pose fits everyone, but the adjustments follow logic.
Round and oval faces do well with a camera positioned 10 to 15 degrees above eye level. Cognition research shows that shooting slightly down opens the eyes and tapers the lower face, raising perceived competence and composure. Combine that height with the chin push and the lean-in to elongate the neck. Shooting straight on flattens and widens, so avoid it here.
Square and angular faces usually want direct eye level with a slight downward chin tilt and softer light to warm up a strong jaw. Context matters, though. When an executive wants authority, keep those sharp angles front and center. A strong jaw is an asset, not a flaw.
Broader shoulders and larger frames benefit from rotating the body 30 to 45 degrees away from the key light, then dropping the front shoulder about an inch to break the horizontal symmetry. Reach for an 85mm to 135mm focal length to compress features without distortion, and use tighter crops to steer attention to the face.
Petite frames shrink in wide, cluttered crops. Keep backgrounds clean and framing closer. Then coach posture: an elongated spine and lifted chin add visual stature.
If you want one default that flatters roughly 80% of clients: body angled 20 degrees, chin ledge engaged, slight forward lean, shoulders relaxed. Get that reliable first, then customize.
Hands, arms, and upper body: Where non-models struggle most
Technique 6: The 45-degree body angle rule
Never have a non-model face the camera square-on. It reads like a mugshot or an ID photo. Jen Peterson Photography and Gemma Brunton Photography both emphasize that angling the body roughly 45 degrees to the camera slims the frame, creates depth, and feels more dynamic. The subject can then twist their shoulders slightly back toward the lens to maintain connection with the viewer.
The mistake is going all the way to a 90-degree profile, which breaks eye contact and loses the audience entirely.
Technique 7: The "give your hands a job" framework
Hands are the number one source of awkwardness. As Ruderman Photo notes, "Hands are the first place to show tension." You must give them something to do.
Three reliable defaults:
- One hand in a pocket with the thumb out
- Hands lightly clasped in front at waist level
- One hand adjusting a cuff, collar, or lapel
Both hands stuffed deep into pockets is the failure case here. It reads as defensive and hunched.
Technique 8: Creating space between arms and torso
Instruct your subject to keep a small gap between their arms and their body. Photographers call this the "triangle of light." When arms press flat against the torso, they merge visually and add width to the frame.
Arms glued to the sides is the default for every nervous person who has ever stood in front of a camera, and it is exactly what you're correcting.

Technique 9: The shoulder drop cue
Most anxious subjects unconsciously hunch their shoulders toward their ears. Simply saying "drop your shoulders" or, my personal favorite, "pretend your shoulders are melting" releases enormous tension instantly.
The mistake is saying it once. Shoulders creep back up within 30 seconds, so repeat the cue throughout the session as a gentle refrain rather than a correction.
Technique 10: Leading with the closer shoulder
For three-quarter angles, have the subject bring their front shoulder slightly toward the camera. This creates a dynamic, leaning-in posture that reads as engaged and confident.
Leaning the whole body forward is the failure mode. It looks aggressive, or like they're about to topple. Only the shoulder leads.
Full body, seated poses, and coaching energy into a shot
Technique 11: Seated vs. standing dynamics
Seated poses instantly relax nervous subjects. Sitting feels less performative than standing, and as Steph Shanks Photography notes, seated positions naturally project approachability, making them ideal for industries like hospitality, consulting, or customer-facing roles.
The key, according to Headshots Inc.: sit on the front edge of the chair and lean the upper torso slightly forward toward the camera. I call this the "perch on the edge" approach. It creates ready-for-action energy and is especially effective for clients worried about double chins.
Letting them sink back into the chair undoes all of it. The back rounds, the posture collapses, and the chin pushes forward in the wrong way.
Technique 12: The weight shift for standing poses
Have your subject shift about 60% of their weight onto their back foot, the one farthest from the camera. Jen Peterson Photography explains that this naturally angles the hips, creates an S-curve in the body, and breaks the rigid "standing at attention" look. The front knee softens, and the whole posture loosens.
Weight on the front foot does the opposite: the subject looms toward the camera and reads as aggressive.
Technique 13: The "movement reset" between shots
When a subject is visibly stiff, stop shooting static poses. Have them shake out their hands, roll their neck, or walk toward the camera and stop on a mark. The moment they stop moving is almost always more natural than any held pose.
Shooting only static positions lets the stiffness compound. It needs interrupting.
Technique 14: Micro-adjustments over major repositioning
Once you have a good base pose, make tiny refinements. "Turn your chin a quarter-inch to the left." "Drop your right shoulder just a touch." Small tweaks preserve your subject's confidence.
Constantly rearranging someone from head to toe sends the message that nothing they're doing is right, and it destroys the trust you spent the first ten minutes building.
Technique 15: The conversation technique for anxious subjects
Keep a genuine conversation going while you shoot. Ask about their work, their weekend, their dog, whatever makes them forget the camera exists. The best expressions happen mid-sentence, when the subject is thinking about something real instead of performing for the lens.
Going silent behind the camera amplifies every insecurity your subject arrived with, and their internal monologue fills the silence with self-criticism.
The pre-shoot consultation: Setting the stage with AI-generated references
Most clients walk into a headshot session with zero visual vocabulary. They can't tell you what they want. They just know they don't want to look "weird." That vagueness breeds anxiety, because when you can't picture the destination, every moment of the journey feels uncertain.
AI headshot tools have changed that conversation in 2026.
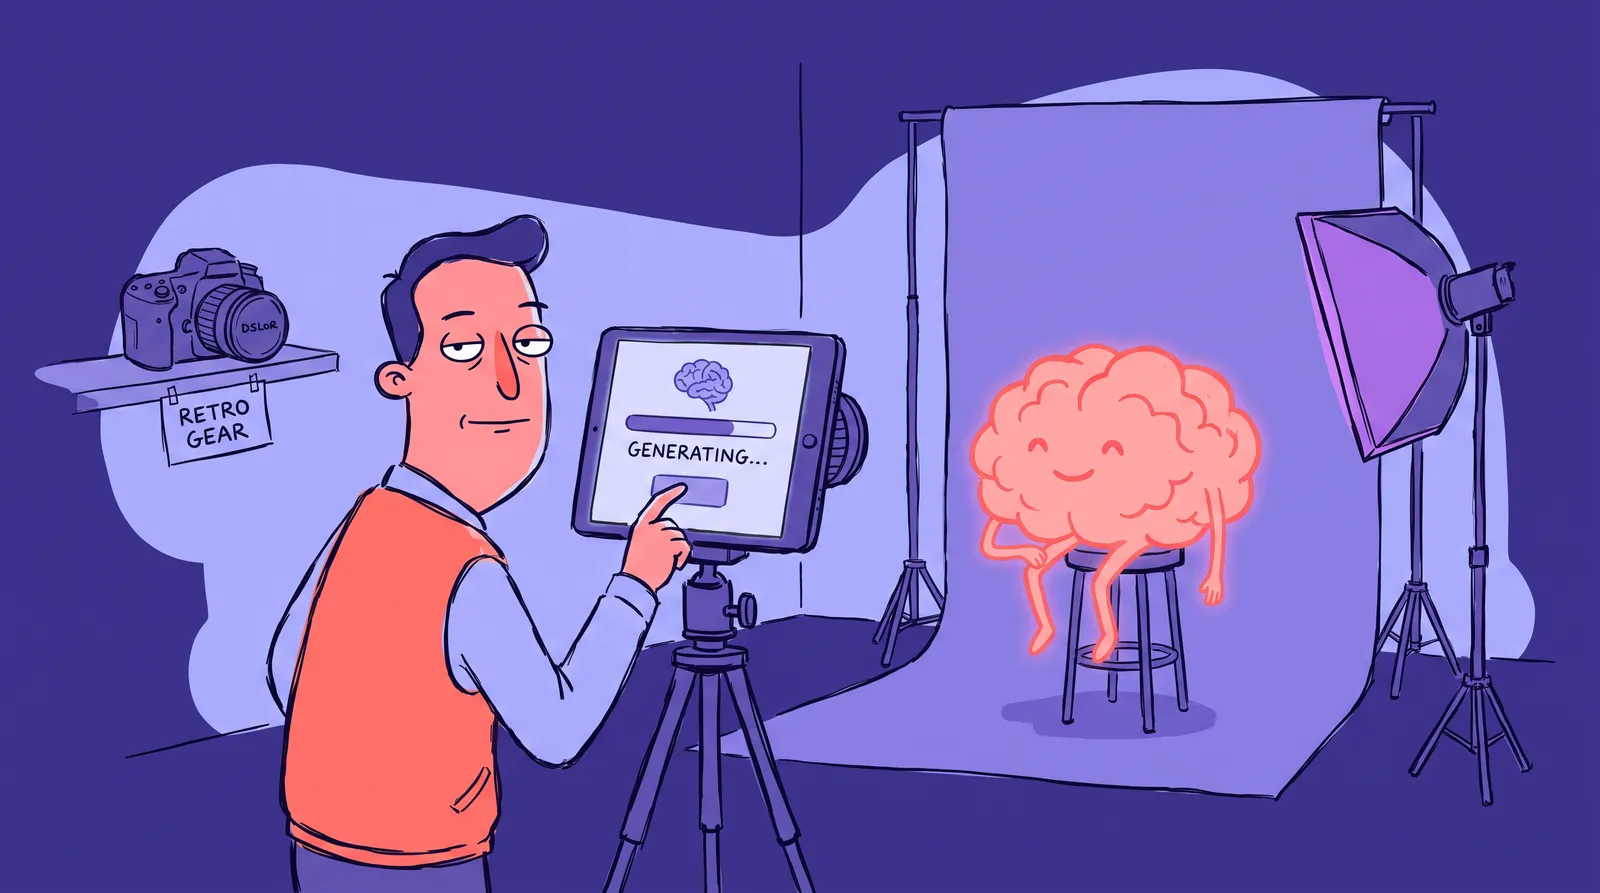
The workflow photographers are landing on is to upload a few casual photos of the client into a generator like Starkie AI during the consultation. Within minutes you have polished reference images that show the client what a well-posed version of themselves looks like. It isn't a fantasy or someone else's face; it's theirs, at its best.

The practical steps are simple. Share the AI-generated reference headshots via email or show them at an in-person meeting. Then ask the client to react. What do they like? What feels off? Does the expression feel like them? This conversation is gold. It reveals posing preferences, expression goals, and insecurities you'd otherwise discover only mid-shoot, when the pressure is already high.
The psychological payoff is large. Clients who have seen a realistic, flattering reference of themselves arrive calmer, more trusting, and with a concrete goal in mind, which cuts the freeze response substantially. They are walking toward something they've already seen and approved rather than into the unknown.
For clients with tight budgets, AI-generated headshots from Starkie AI can serve as a standalone professional option. For others, they're a mood-boarding bridge to a full studio session. Either way, they serve the client.
Building your posing system: How to make this repeatable
Experienced photographers internalize these cues over years. But relying on instinct alone means inconsistency across different client types, body types, and session lengths. Write it down.
Create a documented posing checklist that covers the micro-adjustment sequence, weight and chin rules, the breathing cue, and your preferred reset intervals. Laminate it. Tape it to the back of your light stand. Whatever works.
Adapt for context. The core framework holds across situations, but emphasis shifts. Corporate formal headshots might call for squared shoulders and a subtle closed-mouth smile to convey authority. Creative industry shots can use angled shoulders and an off-camera gaze for approachability. For Zoom-style remote headshots, all the same chin and posture rules apply, but you're coaching via screen rather than hands-on.
A pre-shoot questionnaire is worth the five minutes it takes to write. Ask about the client's industry, how the photo will be used, and, critically, what they dislike about their previous professional photos. That last question is the most important. It tells you exactly which micro-adjustments to prioritize before they even arrive.

Make AI references a standard step rather than an occasional one. Using Starkie AI for pre-shoot mood-boarding takes minutes, improves client communication and cuts on-set uncertainty. For clients who need a headshot immediately, the AI-generated options can stand on their own. For those headed to a studio session, they're the blueprint that makes the shoot time more productive.
Same client, four completely different headshots
The same body needs different directions depending on where the photo lives. Meet our example client: a 40-something marketing director. Watch how she changes across four contexts.
For corporate LinkedIn, the goal is approachable competence. Fifteen to thirty degree shoulder angle, face turned to camera, a natural smile with visible teeth, neutral gray or blurred office backdrop, face filling 60 to 70% of the frame. This isn't cosmetic. LinkedIn data shows profiles with professional headshots earn up to 21 times more profile views and far more messages, and a TheLadders eye-tracking study found recruiters spend 19% of their screening time on the profile photo. For our marketing director, that means warm, direct, and polished.
For a creative portfolio, the goal is individuality, so loosen everything up. Asymmetric shoulder drop, hands engaged, an off-axis gaze, a bolder expression. Our director tilts her head, drops a shoulder, and lets a real half-laugh through. The professional headshot market reached $1.2 billion in 2024, driven partly by demand for exactly this personality-forward style.

For real estate, the goal is trust and warmth: fully forward-facing, open body language, a broad genuine smile, no crossed arms. This posture is engineered to say "you can trust me with your home." Our director softens completely, leans in, and beams.
For an executive bio, the goal is authority without arrogance. Grounded, upright posture, a slight chin lift, intense eye contact softened by a subtle squinch, and a closed-mouth micro-smile against a charcoal or slate backdrop. Same woman, now radiating calm command instead of friendly warmth.
One person. Four completely different reads. That's the power of posing intent.
Drawing out natural expressions: the art of the decisive moment
"Smile naturally" is the least effective direction in photography. It forces a fake, non-Duchenne smile: the mouth pulls sideways while the eyes stay blank. Real warmth starts in the eyes.
That's the Duchenne smile, where the muscles around the eye engage. Research in the Journal of Nonverbal Behavior links genuine smiles to emotional contagion, meaning viewers trust the subject faster. PhotoFeeler's data backs the details: a smile with teeth lifts likability by 1.35 points, while a closed-mouth smile cuts that gain in half. A full open-mouth laugh boosts likability but quietly costs perceived competence. Raising the lower eyelids slightly, the "squinch," raises competence by 0.33 and influence by 0.37.
So how do you get the real thing?
Use expression triggers rather than "say cheese." Ask something unexpected: "What's your absolute worst guilty-pleasure song?" The half-second between surprise and authentic laughter is when you press the shutter.
Reset and re-engage regularly. Burst shooting causes facial fatigue, and expressions freeze into masks. Instead, have the subject drop their face toward the floor, roll their shoulders, exhale, and relax the jaw. Then: "Look back up on three, like you've got a secret." The first one or two seconds after re-entry produce the highest rate of genuine expressions.
Calibrate the intensity. Test both ends of the spectrum: serious and composed through warm and open. Give clients real options. Different brands call for different registers.
Review shots mid-session. Showing clients their best frames partway through builds confidence, helps them feel what their best expression looks like, and unlocks a second wind for the final round.
The human side wins
The best headshot photographers don't own the fanciest gear or the most elaborate studios. They've got the human side of the process down. Posing is a language and expression coaching is a skill, and both improve with deliberate practice.
The short version: prepare the client before you lift the camera, build on the mechanics of chin, shoulders and spine, tailor every choice to the face shape, body type and where the photo will be used, and chase real expressions rather than manufactured ones.
Not everyone has a studio session available. For founders, job seekers and busy professionals who need a polished result without the cost, AI headshot generators like Starkie AI apply many of the same posing and expression principles computationally. The underlying science doesn't change depending on whether a person or an algorithm applies it.